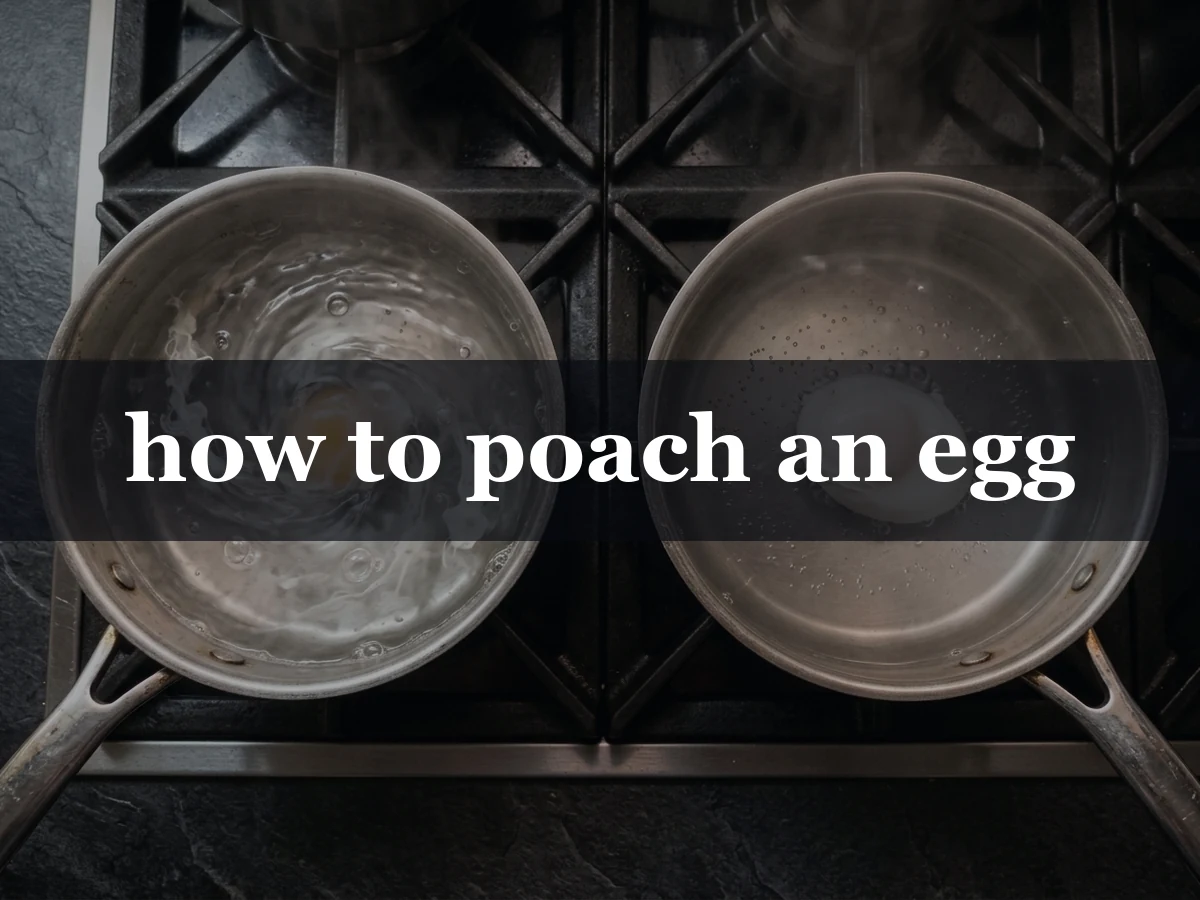
how to poach an egg
Introduction
To poach an egg successfully, you must gently cook a cracked egg in simmering water until the white is set but the yolk remains liquid. Learning how to poach an egg requires attention to water temperature and the structural state of the egg, which helps prevent wispy whites.
This guide covers the essential tools and techniques needed to achieve consistent results every time. You will learn how to prepare your workspace, manage heat levels for a tender texture, and use specific methods like the fine-mesh strainer technique to clean up excess whites. We also provide clear instructions on how to store and reheat your eggs, along with troubleshooting tips for common kitchen frustrations. Whether you are aiming for a classic breakfast or a protein-rich meal addition, these steps will help you master this fundamental culinary technique with confidence.
Step-by-Step Poaching Method
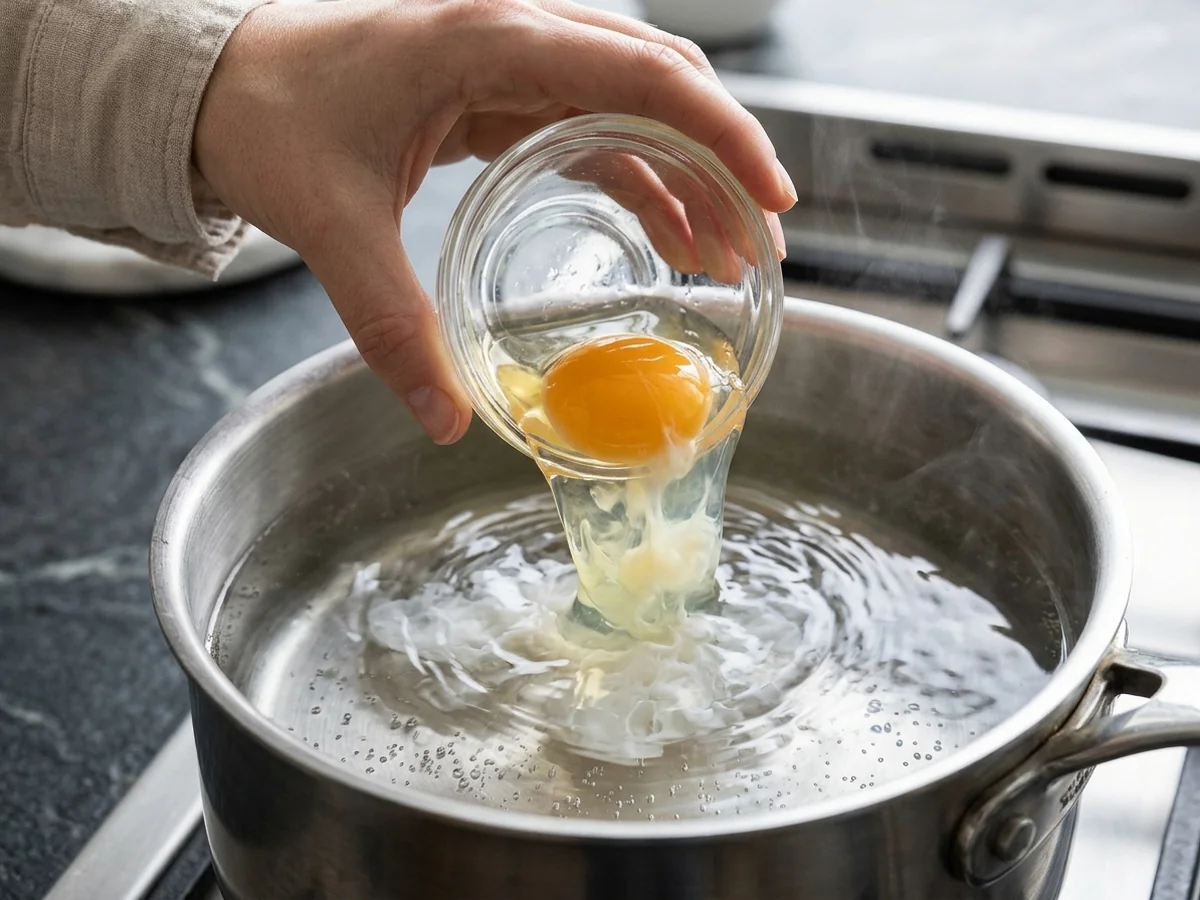
Creating a perfect result means achieving a tender, opaque white that fully encases a warm, runny yolk. This classic culinary technique provides a nutrient-dense, high-protein option that requires no added fat during the cooking process.
To begin, fill a saucepan with enough water to fully submerge the egg. Heating the water to a gentle simmer is essential for success. Common guidance suggests maintaining a temperature range between 180 and 190 degrees Fahrenheit to encourage proper protein coagulation without toughening the delicate structure.
Using the freshest ingredients possible helps ensure the best outcome. As eggs age, their internal structure shifts, often causing the white to spread more rapidly in the water. You may find that keeping your eggs fridge-cold until the last second helps them hold a tighter shape compared to those kept at room temperature. For those wanting to refine the final presentation, straining the loose, watery portion of the egg white through a fine-mesh sieve before adding it to the water can prevent wispy strands from forming.
Once the water reaches the target range, carefully slide the egg into the pan. Use a slotted spoon to gently guide the white around the yolk if needed. When the cooking time is complete, remove the egg promptly and drain it on a paper towel to avoid excess moisture on your plate. If you prepare extra portions, you can store them in the refrigerator by keeping them submerged in cold water for up to 2 days, reheating them briefly in warm water before serving.
Selecting the Freshest Eggs
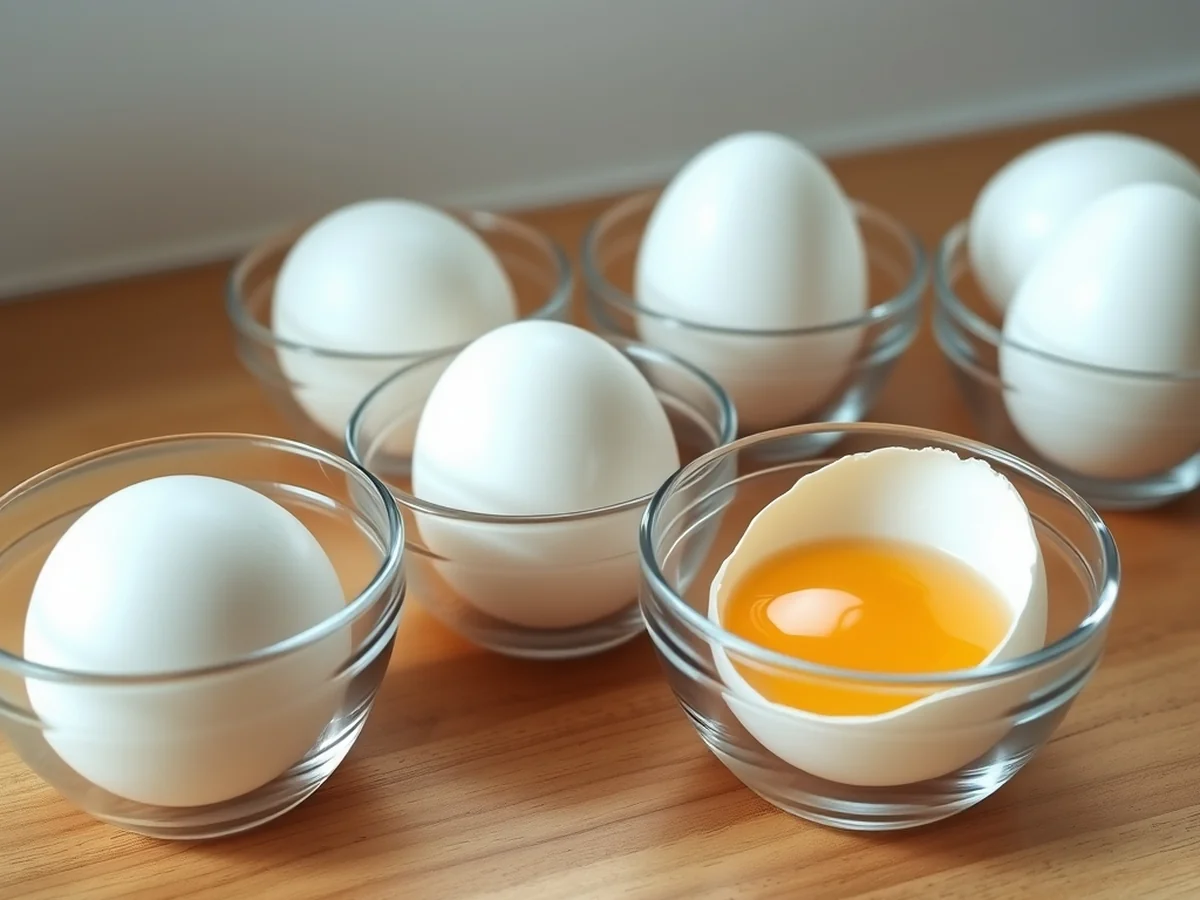
Using the freshest possible eggs is the most effective way to ensure the whites stay compact and wrap neatly around the yolk. As an egg ages, the proteins in the white break down and become thinner, which leads to those thin, wispy strands that often pull away during the cooking process.
You can identify how long an egg has been on the shelf by checking the carton for the Julian date. This is a three-digit code representing the day of the year the eggs were packed, where 001 is January 1st and 365 is December 31st. Because the air pocket inside the shell gradually expands as the contents evaporate, older eggs will behave differently than those laid recently.
To verify if your eggs are suitable for this culinary technique, you can perform a simple float test. Follow these steps to assess the age of your ingredients before you begin:
- Fill a deep bowl or glass with enough water to fully submerge the item.
- Gently lower the whole egg into the water and observe how it settles.
- If it sinks and rests flat on its side at the bottom, it is very fresh and ideal for your meal.
- An egg that stands upright on one end is older but still safe to use for most cooking methods.
- If the item floats entirely to the surface, it has developed a large air pocket and is likely too old to use for this specific preparation.
Essential Tools for Success
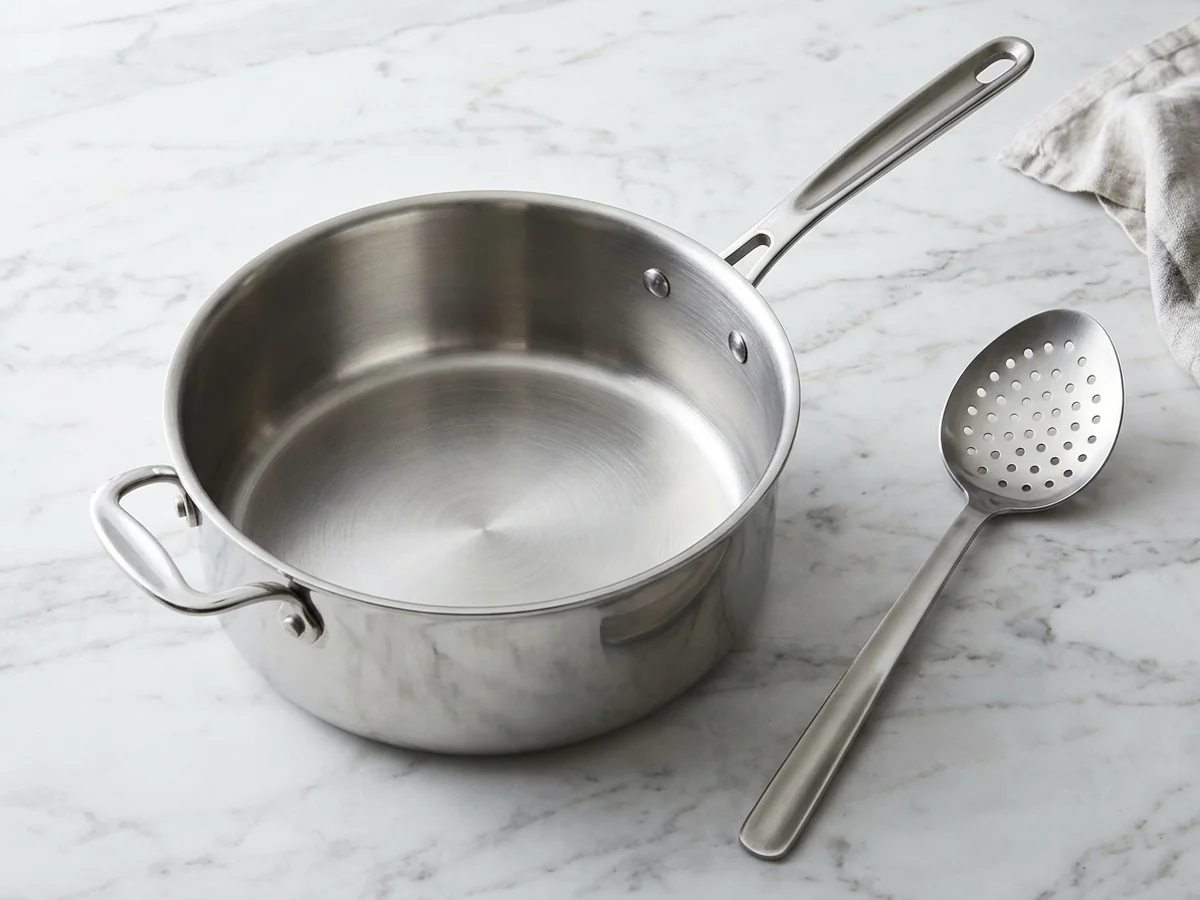
You need a few basic pieces of kitchen equipment to consistently poach an egg with a clean shape and perfect texture. Using the right tools eliminates the frustration of wispy, scattered whites and helps you maintain steady heat throughout the process.
- A wide, deep saucepan provides enough space for the egg to circulate without touching the sides or bottom too early.
- A fine-mesh strainer is essential for removing thin, watery egg whites that would otherwise create messy strands in the water.
- A slotted spoon allows you to gently lift the finished egg from the water while letting the excess liquid drain away.
- A kitchen thermometer helps you monitor the water, as common guidance suggests keeping the temperature between 180 and 190 degrees Fahrenheit for the best results.
The fine-mesh strainer is particularly helpful because it separates the runny, outer layer of the egg white from the thicker portion that surrounds the yolk. By straining this watery part before cooking, you ensure only the firmest proteins remain to set, which creates a neat, compact final product.
Managing your heat is the final piece of the puzzle. While you can rely on visual cues like small bubbles rising from the bottom, using a thermometer removes the guesswork. Keeping your poaching liquid within that target range prevents the rapid, rolling boil that can tear the delicate whites apart. This level of control is how you move from unpredictable results to a professional, high-protein breakfast every time.
Mastering Water Temperature
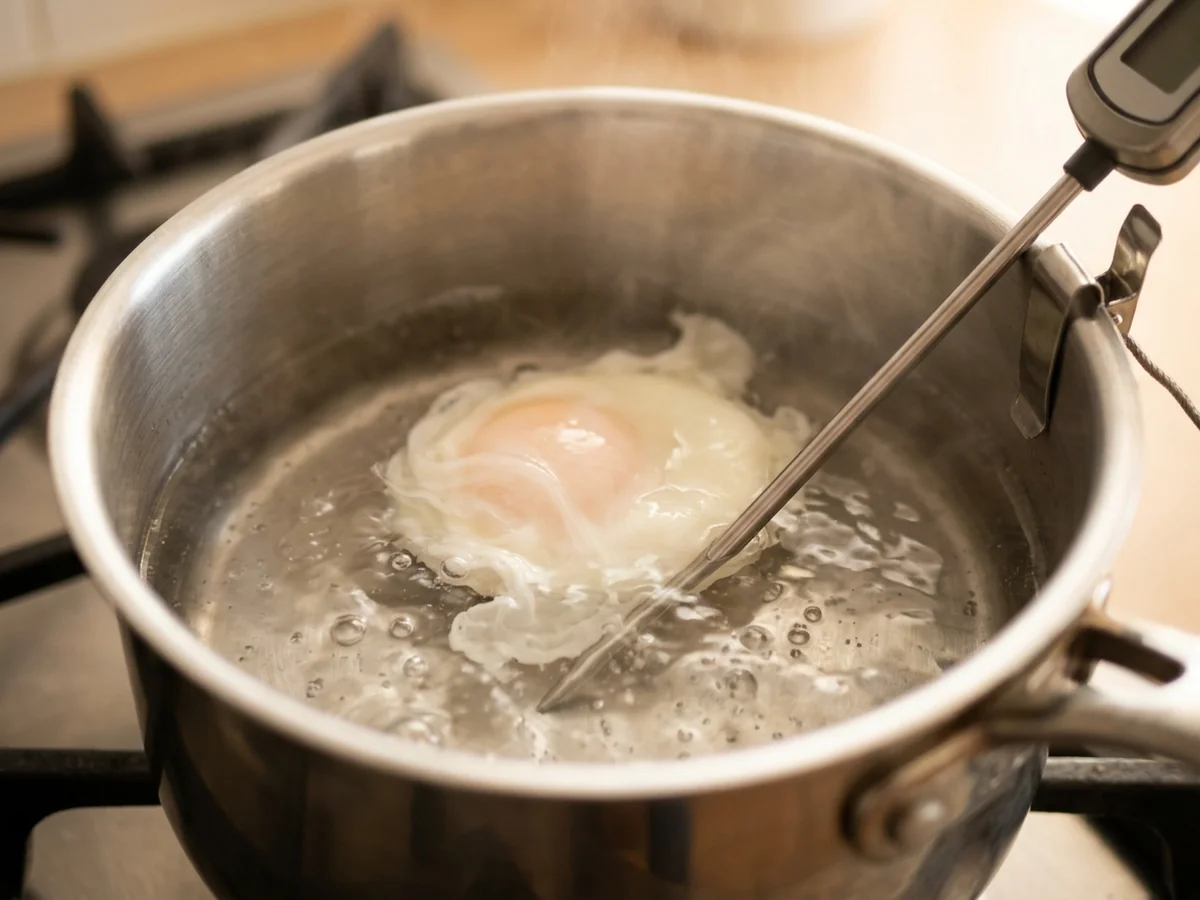
The most consistent results come from keeping your liquid between 180 and 190 degrees Fahrenheit. This specific poached egg temperature range provides enough heat to cook the protein without the aggressive movement that ruins the final presentation.
You should avoid letting the water come to a full boil. Rapidly bubbling water creates significant turbulence, which often breaks the delicate structure of the egg white before it has a chance to set. This agitation leads to wispy, scattered pieces floating throughout the pan instead of forming a clean, cohesive shape.
The culinary technique relies on the process of egg white coagulation. When the clear proteins in the egg white encounter heat, they undergo a chemical transformation that turns them opaque and firm. By staying within the suggested temperature range, you allow this transformation to occur gently and steadily. If the heat is too low, the proteins will not set properly, leading to a runny, unappealing texture. If the heat is too high, the exterior will become tough and rubbery while the yolk remains cold.
Using a thermometer is the best way to ensure your water stays in the ideal zone throughout the cooking process. If you notice the temperature rising too quickly, simply remove the saucepan from the heat source for a moment or add a splash of cold water to stabilize the environment. Maintaining a steady, gentle simmer is the secret to achieving a perfectly smooth and set exterior every time.
Comparing Poaching Techniques
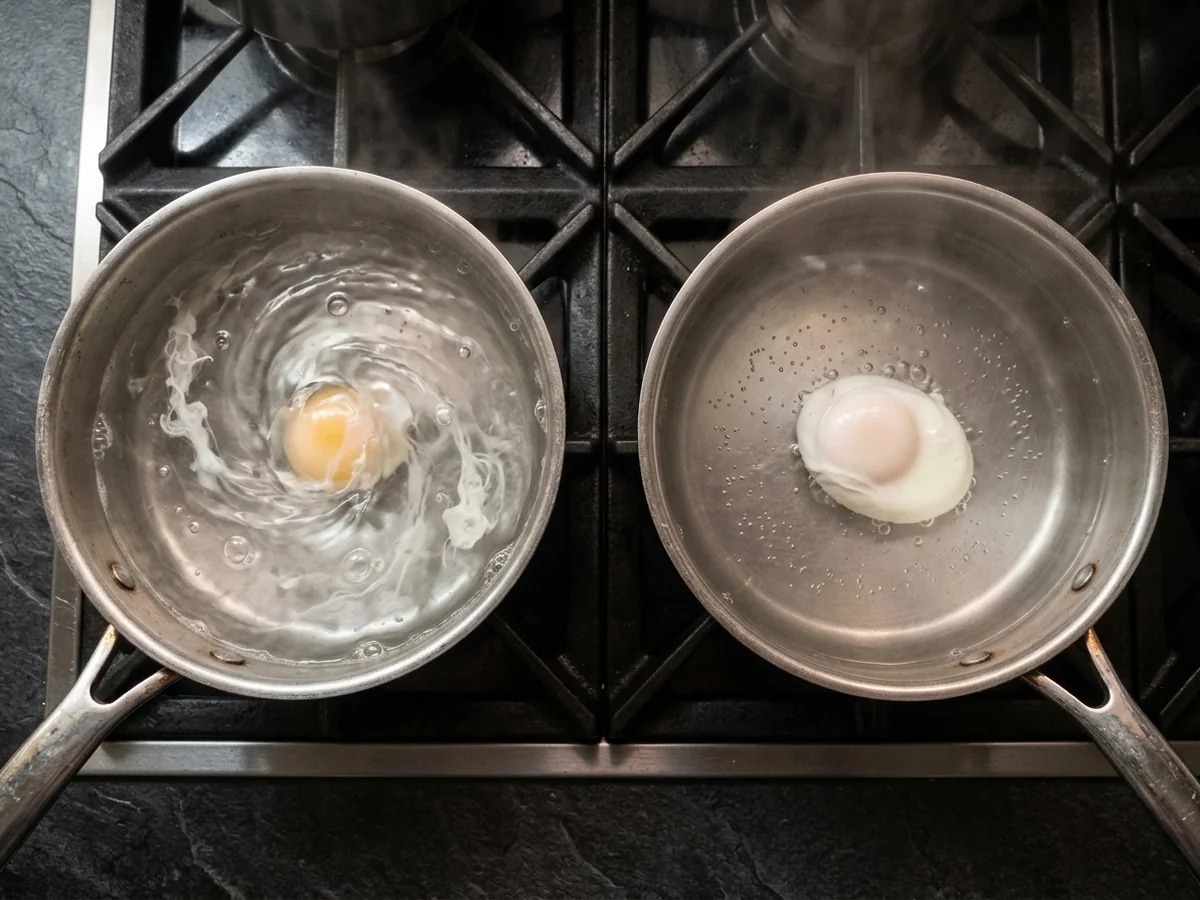
The whirlpool method relies on motion to shape the egg, whereas the easy poached egg method uses a contained vessel to keep whites tidy without active swirling.
| Feature | Whirlpool Method | Easy Method (Vessel) |
|---|---|---|
| Egg Count | Single egg | Multiple eggs |
| Water Motion | Active swirl | Gentle simmer |
| Structural Aid | Centrifugal force | Small bowl or ramekin |
To execute the whirlpool approach, bring your water to a gentle simmer, typically between 180 and 190 degrees Fahrenheit. Create a steady vortex in the center of the saucepan using a spoon. Carefully slide a single egg into the middle of the spinning water. The circular motion wraps the white around the yolk as it begins to set. This technique requires focused attention, as the current must remain consistent until the white is sufficiently firm.
For preparing multiple eggs simultaneously, a gentler approach is more practical than using a whirlpool. Instead of creating a vortex, use small individual ramekins or heat-safe bowls to hold each egg. Lower these containers into the simmering water, allowing the eggs to cook undisturbed in their own space. This prevents the whites from tangling with one another and ensures a cleaner presentation. If you prefer, you can also use a fine-mesh strainer before dropping them into the water to remove thin, watery whites that often cause wispy edges. This approach offers better control when managing a larger quantity for a meal.
The Role of Vinegar
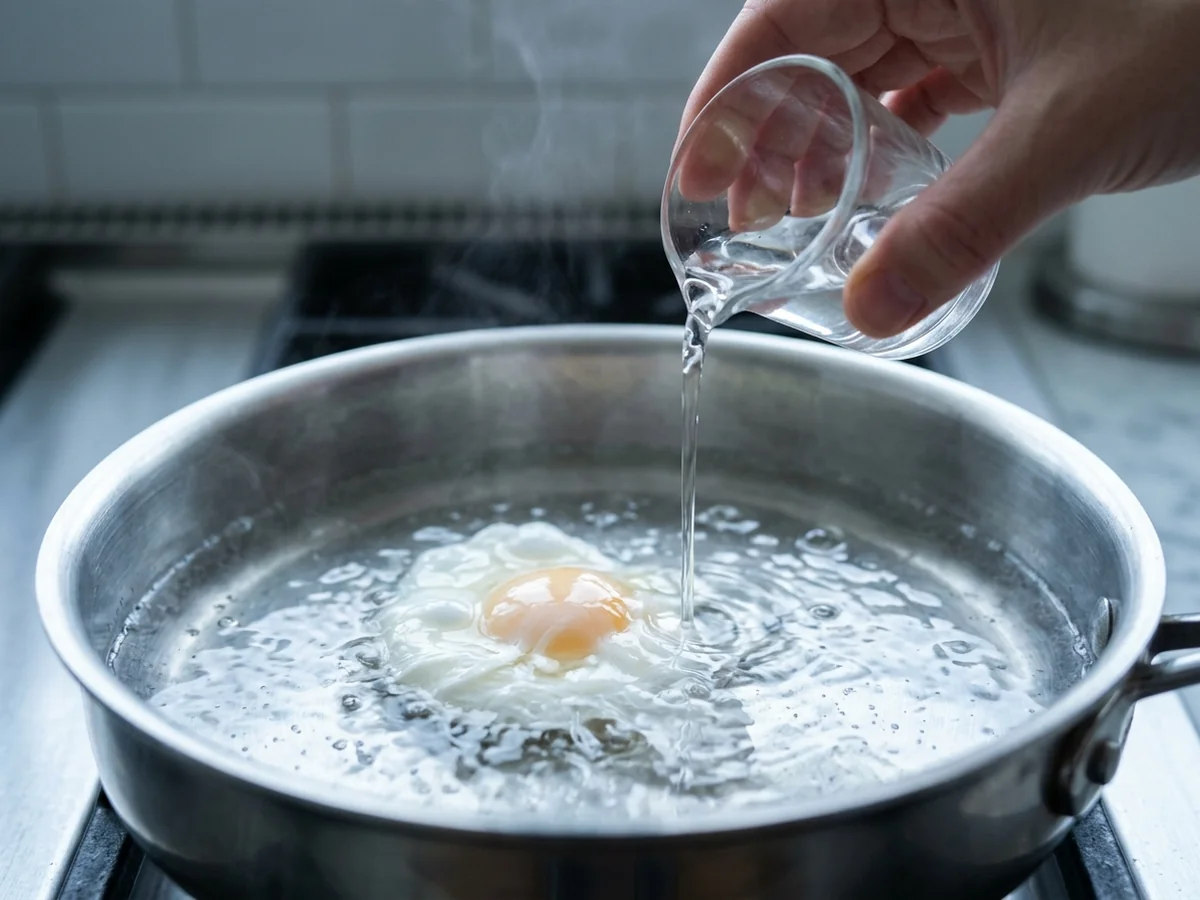
Adding a splash of acidic liquid to your water is a common technique, though it remains a subject of culinary debate. Some cooks find it essential for maintaining a clean shape, while others argue it is unnecessary if the egg is fresh and handled with care.
From a chemical perspective, vinegar works by accelerating the coagulation of proteins. When you poach egg with vinegar, the acidity lowers the pH of the water, which helps the delicate albumen, or egg white, set more rapidly as it hits the heat. This process creates a physical barrier that keeps the whites contained rather than spreading into wispy strands throughout the saucepan.
Despite these structural benefits, there is a distinct trade-off regarding taste. Vinegar has a sharp, pungent profile that can easily permeate the thin membrane of the white. Even a small amount may leave a noticeable sour tang on the finished dish, which can clash with the delicate, creamy flavor of a perfectly cooked yolk.
If you choose to use this method, consider these factors to balance the results:
- Use a light-colored vinegar, such as white distilled or white wine vinegar, to avoid discoloring the whites.
- Keep the amount minimal, usually no more than one tablespoon per quart of water, to prevent overpowering the natural flavor.
- Ensure the water is at a gentle simmer rather than a rolling boil, as vigorous movement will disrupt the protein setting regardless of the acidity level.
Troubleshooting Common Mistakes
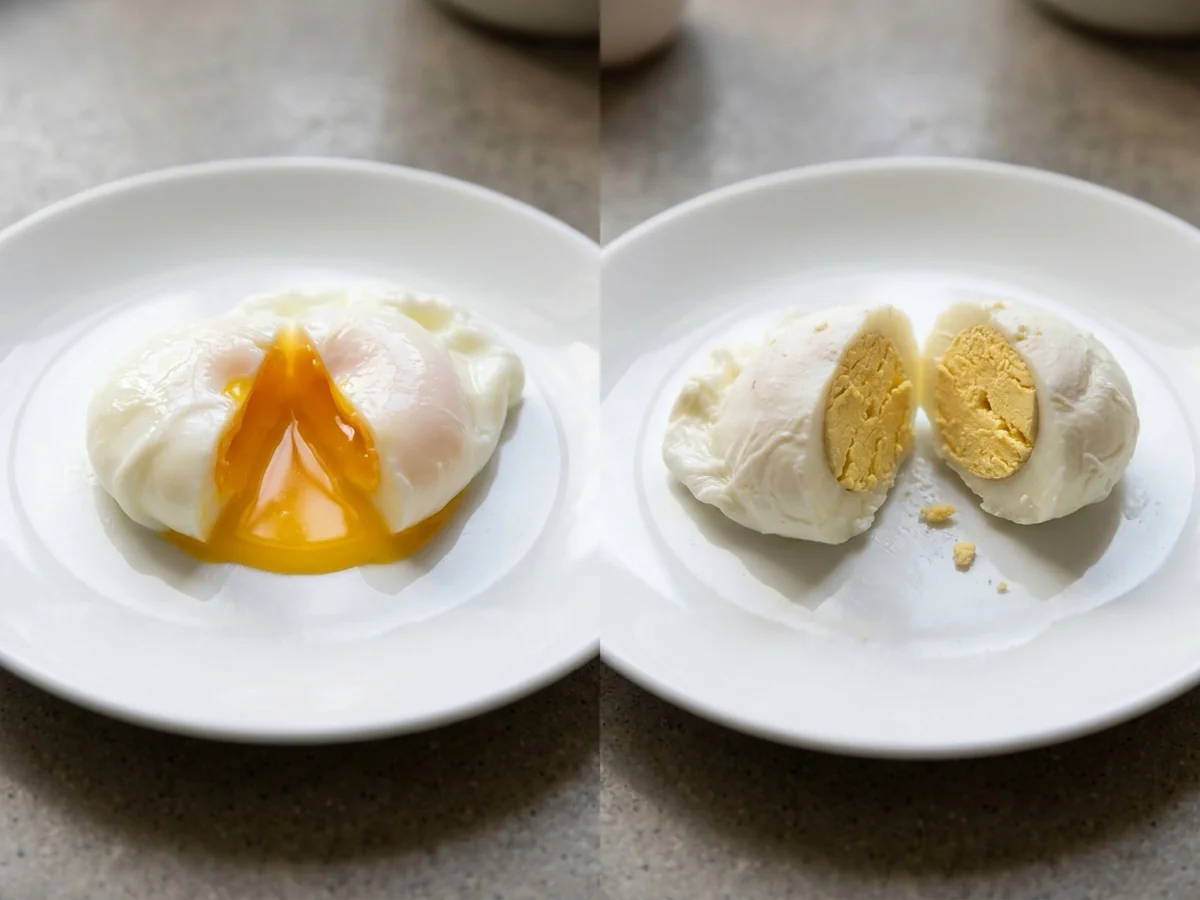
Achieving the perfect texture when you poach an egg requires attention to visual cues and proper preparation to avoid common pitfalls. You can identify an undercooked egg by a translucent, runny white that has not fully set, whereas an overcooked egg will have a firm, rubbery yolk and tough, solid whites. Adjusting your technique helps ensure the yolk remains creamy while the whites are fully opaque and tender.
Wispy whites occur when the thin, watery portion of the egg white separates from the yolk and disperses through the water. This usually happens when the egg is older or the water is boiling too aggressively. Use these tips to improve your results:
- Strain your raw eggs through a fine-mesh sieve before cooking to remove the watery, loose whites that cause wispy strands.
- Maintain the poaching water at a gentle simmer, as the ideal temperature range is typically considered to be 180 to 190 degrees Fahrenheit.
- Avoid overcrowding your saucepan, which can lower the water temperature and interfere with consistent coagulation.
- Keep your eggs chilled until the last moment, as fridge-cold eggs often hold their structure better than those at room temperature.
- Consult your local food safety authority regarding raw or undercooked eggs, as the USDA advises that vulnerable populations should avoid consuming eggs with runny yolks or whites to reduce the risk of foodborne illness.
If you find that your eggs frequently lose their shape, check the age of your eggs. As eggs age, the air pocket inside the shell expands and the whites become thinner, which makes them more prone to spreading. Using the freshest eggs possible will always yield the most consistent, clean-looking results.
Serving Your Poached Egg
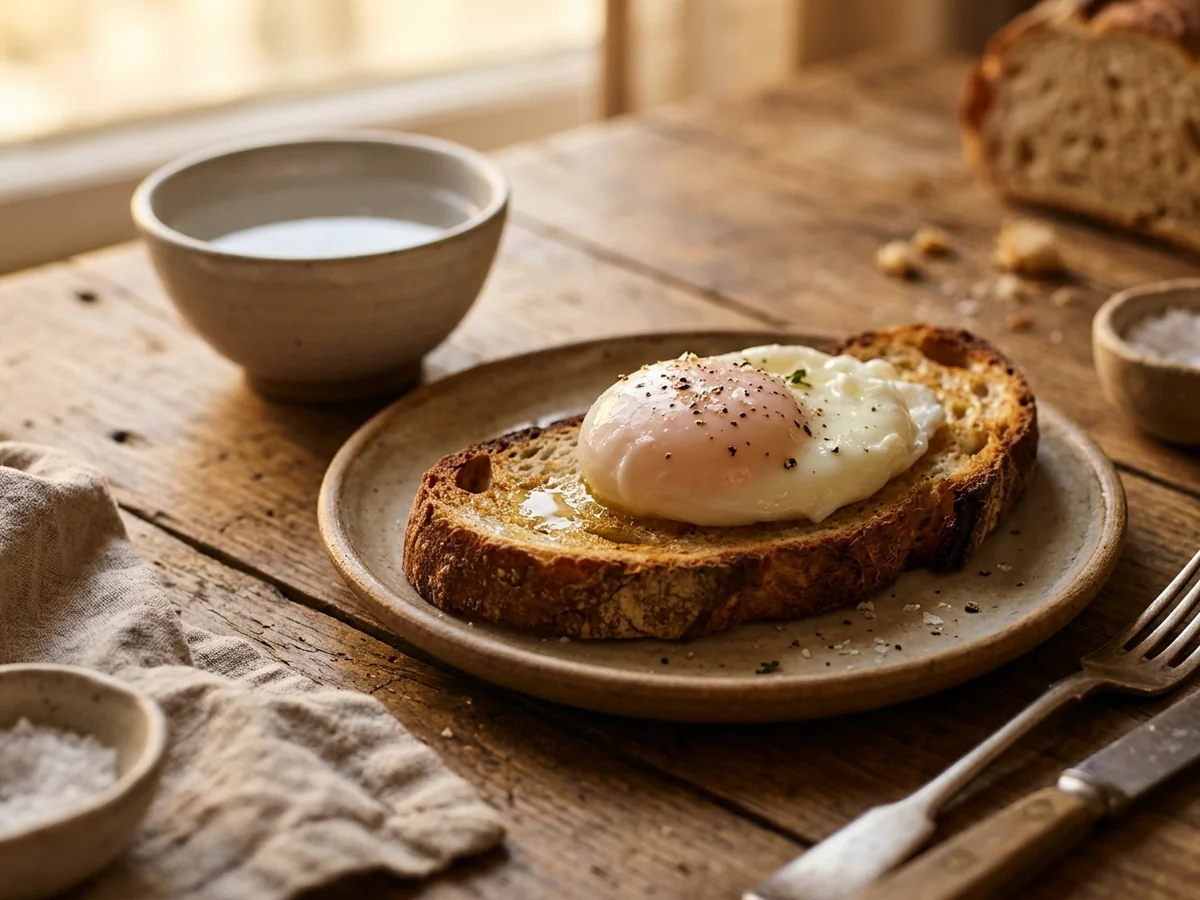
You can prepare these delicate breakfast staples in advance and store them safely for up to 2 days in the refrigerator. To keep them fresh, place the cooked eggs in an airtight container filled with cold water immediately after they have cooled down.
Keeping the eggs fully submerged in cold water prevents the whites from drying out and maintains their shape. Ensure the water level is high enough to cover the eggs completely while they sit in the fridge. This simple storage technique allows you to get ahead on meal prep without sacrificing the quality of your protein-packed dish.
When you are ready to serve, use a gentle reheating process to bring them to temperature without overcooking the yolks. Avoid using the microwave, as this often leads to uneven heating or rubbery textures.
- Remove the eggs from the cold storage water using a slotted spoon.
- Place the eggs into a bowl of warm water for approximately 1 to 2 minutes.
- Ensure the water temperature is warm rather than boiling to avoid further cooking the yolk.
- Test the warmth by gently touching the egg white before serving.
- Pat the eggs dry with a paper towel before placing them on your plate or toast.
This method ensures the inside remains soft and creamy while the exterior is warmed through. By mastering how long to poach an egg for storage and learning this reheating technique, you can easily incorporate this high-protein staple into your busy morning routine throughout the week.
FAQ
What is the correct way to poach an egg?
The most reliable way involves using a fine-mesh strainer to remove excess watery whites before gently lowering the item into a saucepan of simmering water. Maintaining a steady poached egg temperature, typically between 180 to 190 degrees Fahrenheit, helps prevent the whites from becoming rubbery or falling apart.
What are some common mistakes when poaching eggs?
A common error is skipping the strainer step, which leads to wispy whites that cloud your pan. Using eggs that are too old can also cause issues, as the air pocket in the fat end increases with age, which may affect how the protein sets in the water.
How do you poach multiple eggs at once?
To cook several items simultaneously, use a larger saucepan filled with enough water to fully submerge them without overcrowding. You can crack each into a separate small bowl or ramekin first, allowing you to slide them into the water in quick succession for a more uniform result.
How long can you store poached eggs?
You can keep your prepped items in the refrigerator for up to 2 days. It is common guidance to keep them submerged in a bowl of cold water to maintain their shape and prevent them from drying out.
Should I use vinegar when I poach an egg?
Adding a splash of vinegar to your poaching water is a popular culinary technique intended to help the egg white coagulation process occur more quickly. While many cooks prefer this method, it is optional and some find it can slightly alter the flavor of the final dish.
Conclusion
Deciding how to serve your meal is the final step after you successfully poach an egg. You can enjoy it immediately over toast or store it in the refrigerator submerged in cold water for up to 2 days for later use.
You might also like: how to meal prep with eggs