crispy smashed potatoes with parsley yogurt sauce
Introduction
You can achieve perfectly crispy smashed potatoes by boiling them until tender and allowing the surface moisture to evaporate before roasting. This method creates a golden, textured exterior that balances a fluffy interior with a satisfying crunch in every bite.
This article covers the essential techniques required to master this dish, including the best potato varieties for achieving the right starch content. You will learn how to properly boil potatoes before smashing for crispiness and why letting them steam dry is a vital step for success. Beyond the roasting technique, this guide provides a refreshing recipe for a parsley yogurt sauce, which offers a cool, tangy contrast to the rich, roasted potatoes. Follow these steps to elevate your side dishes with a reliable, flavor-forward approach that highlights the benefits of simple, high-quality ingredients.
Mastering the Perfect Texture Combination
The secret to satisfying crispy smashed potatoes lies in the sharp contrast between ultra-crispy, golden edges and soft, fluffy centers. Achieving this specific texture requires a two-step process that encourages starch gelatinization during boiling before the final roast creates a deep Maillard reaction on the surface.
When you focus on boiling potatoes before smashing for crispiness, you soften the interior structure. This allows the potato to flatten evenly without shattering, creating more surface area for that signature crunch.
Selecting the Right Spud
Success starts with your ingredient choice. The best potato varieties for smashed potatoes are Yukon Gold or Red Bliss. Yukon Gold potatoes offer a naturally buttery flavor and a creamy texture that holds up well during the boil. Red Bliss potatoes, on the other hand, have a waxier composition that helps them maintain their structural integrity during the flattening process, ensuring they do not turn into mash under the pressure of your potato masher. Avoid starchy baking potatoes, as they often fall apart too easily before they reach the oven.
Techniques for Maximum Crunch
Common guidance suggests letting your boiled potatoes steam dry in the colander for a few minutes before you smash them. Removing that excess surface moisture is one of the most effective ways to ensure the skin turns truly crunchy rather than steaming in the oven. Once flattened on your sheet pan, a light brush of high-heat oil helps conduct heat evenly. Using a neutral high-heat oil or extra virgin olive oil provides a better foundation for browning. Ensure you do not overcrowd your sheet pan, as proper air circulation is essential for your tips for ultra crispy roasted potatoes.
Balancing Flavors with Fresh Accents
While the roasted spuds provide a savory, indulgent base, adding a cool, tangy element creates a much more balanced meal. A parsley yogurt sauce for roasted vegetables offers the perfect refreshing counterpoint to the hot, salty exterior. By using a base of protein-rich Greek yogurt, you transform a simple side dish into a more substantial addition to your plate. This sauce lightens the overall profile, cutting through the richness of the roasted fats with its herbal brightness.
- Steam dry your potatoes thoroughly after boiling to eliminate excess moisture.
- Avoid adding dried herbs or garlic directly to the roasting surface, as they often burn and turn bitter under high heat.
- Space your potatoes out on the sheet pan to prevent them from steaming each other.
Pairing these elements ensures that every bite feels complete. The creamy, protein-packed dip adds a layer of depth that elevates the dish beyond standard roasted sides, making it an excellent option for those looking to hit nutritional goals without sacrificing bold, comforting flavors.
Selecting the Best Potatoes
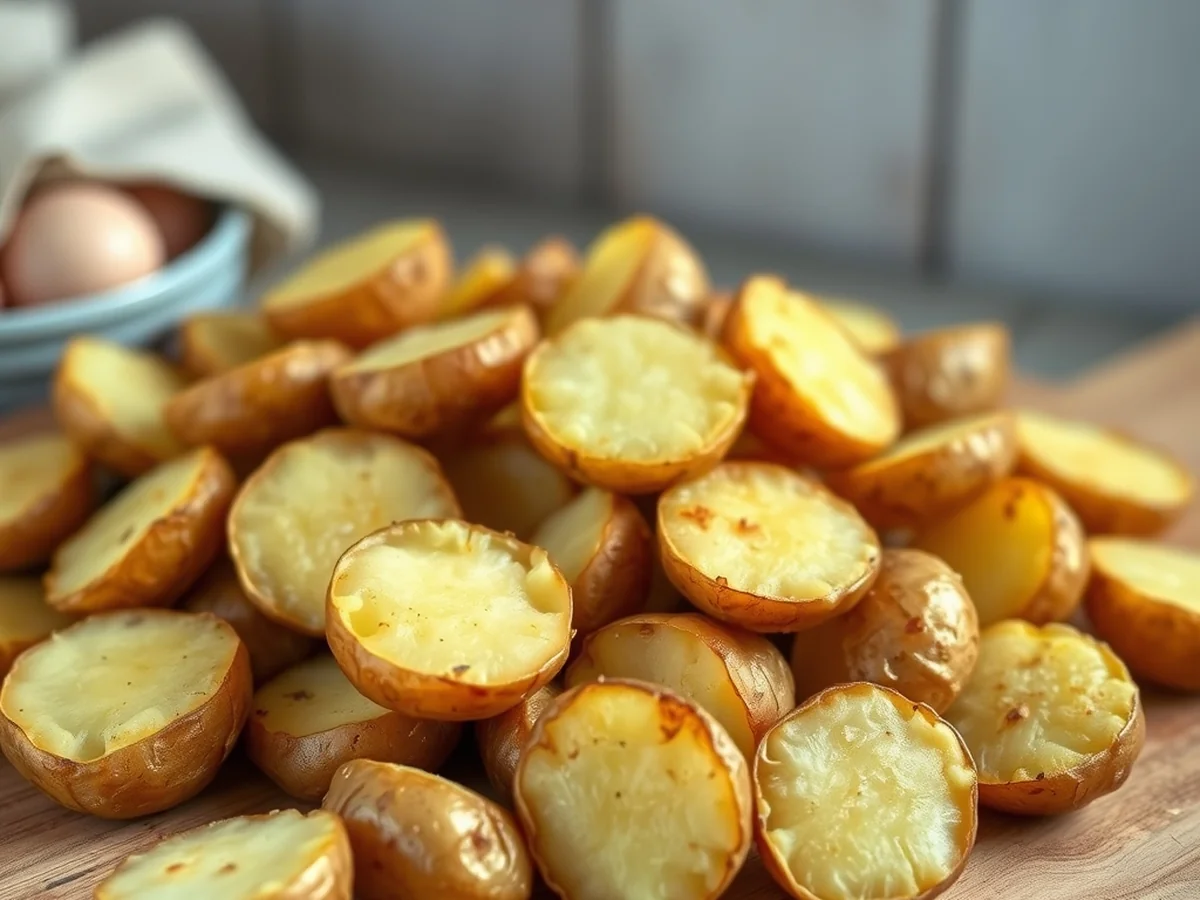
Choosing the right tuber is the foundation of any recipe for crispy smashed potatoes. The ideal potato balances a fluffy, tender interior with a surface that crisps effectively in the oven. Yukon Gold potatoes are widely regarded as the top choice for this technique. Their medium starch content provides a naturally buttery texture and a structure that holds up well during the boiling and smashing process. In contrast, Red Bliss potatoes are waxy with lower starch content, resulting in a firmer, denser bite that may not provide the same contrast between a creamy center and a crunchy edge.
The Science of Starch Gelatinization
Understanding the role of starch is essential to mastering the texture of your dish. Boiling potatoes before smashing for crispiness is not merely about cooking them through. As the potatoes heat in water, the starch granules absorb moisture and swell, eventually bursting. This process, known as starch gelatinization, softens the cell walls. When you press down on a properly boiled tuber, it yields into a flat, craggy surface rather than crumbling into hard chunks. This increased surface area is vital, as it provides more spots for fats like extra virgin olive oil to pool and crisp up during roasting, triggering the Maillard reaction that creates that golden, flavorful exterior.
Achieving Uniformity for Even Roasting
Selecting uniform, small-sized tubers is critical for consistency. When all your potatoes are similar in diameter, they reach the desired level of tenderness simultaneously. This prevents smaller pieces from becoming waterlogged and falling apart while ensuring larger pieces remain undercooked in the center. Consistent sizing also allows for uniform heat distribution on your sheet pan, which is one of the most effective tips for ultra crispy roasted potatoes. When every piece has the same height, the entire tray browns evenly, eliminating the risk of burnt edges next to soft, pale spots.
To further refine your technique, consider these practical steps:
- Choose baby or new potatoes, as their smaller size ensures they fit comfortably on your roasting tray without crowding.
- Avoid oversized potatoes, which often require longer boiling times that compromise their structural integrity.
- Look for skins that are free of deep bruises or sprouts to ensure a clean, appetizing presentation.
- Once smashed, allow the potatoes to steam dry for a few minutes before applying oil or seasonings to help ensure optimum crispiness.
- Avoid adding dried herbs or garlic directly to the roasting surface at the beginning of the cooking time, as these often burn in the high heat required for crisping. Instead, stir them in after the potatoes are finished.
Mastering the Boiling Technique
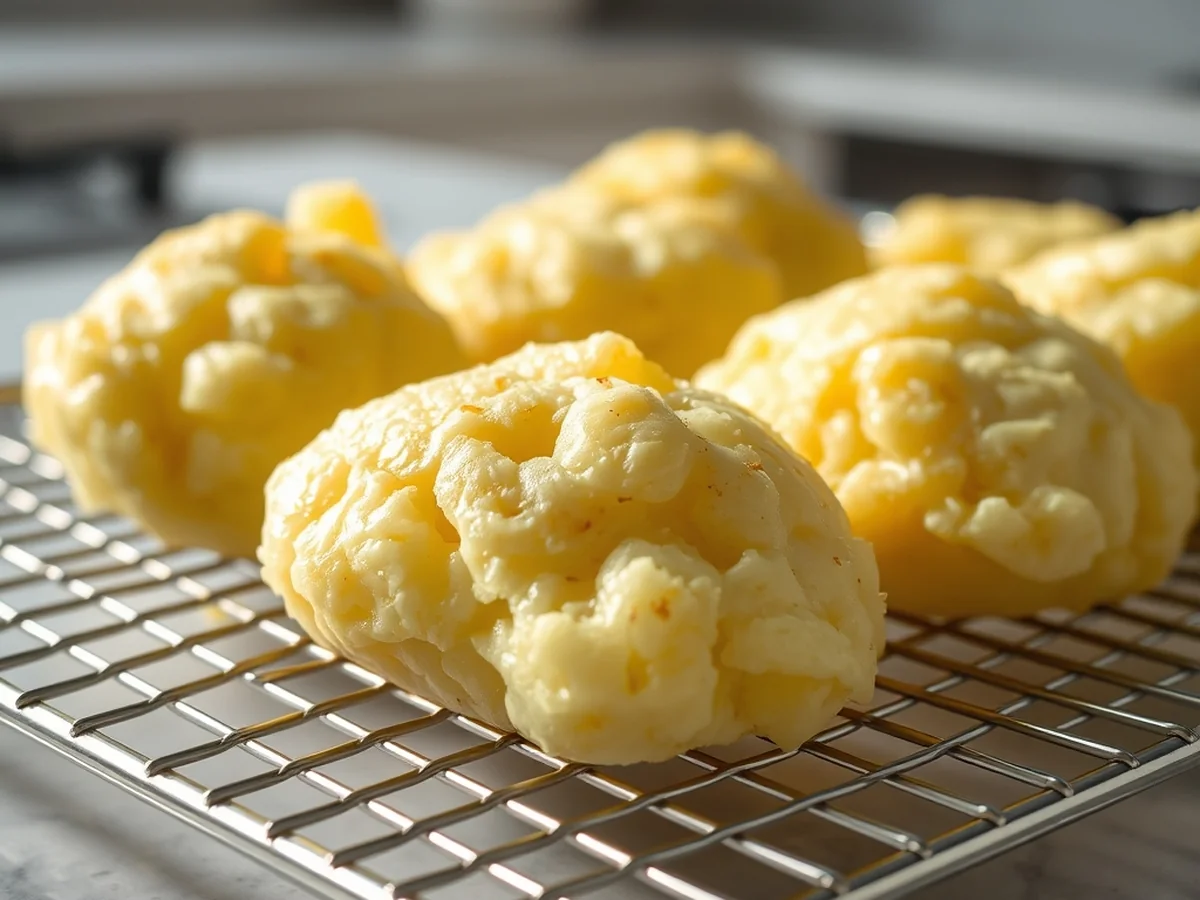
Boiling potatoes before smashing for crispiness is essential because it initiates starch gelatinization. This process allows the interior of the potato to become light and fluffy while ensuring the surface structure is prepared to crisp effectively in the oven. Without this initial cook, the center remains dense and firm, preventing the desirable contrast between a golden exterior and a tender, creamy core. Properly softening the potatoes ensures they hold their structure during the smash without breaking apart into uneven, unappealing chunks.
Selecting the Right Potato
The success of your dish starts with choosing the best potato varieties for smashed potatoes. Yukon Gold potatoes are widely preferred because their medium starch content creates a creamy, buttery interior that holds its shape well. Red Bliss potatoes are another popular option, though their waxy nature results in a firmer, denser bite. When starting your prep, always begin with cold water rather than dropping the tubers into a boiling pot. This promotes even cooking from the center to the outside, preventing the exterior from disintegrating before the core is tender.
The Role of Salinity and Steam
Seasoning the cooking water is your primary opportunity to build flavor from the inside out. Use a generous amount of salt in your boiling pot to ensure the potatoes are seasoned throughout. Aim for a salinity similar to seawater, as this creates a savory foundation that enhances the natural earthiness of the vegetable. Note that most of the brine stays in the cooking liquid, so do not fear over-salting the water.
Once the potatoes are fork-tender, drain the water thoroughly and return the potatoes to the warm, empty pot for a minute. This residual heat encourages excess moisture to evaporate. Letting potatoes steam dry after boiling is common guidance for achieving the best results, as removing surface moisture is a critical step for hitting that ideal level of crispiness. If the potatoes are too damp, they will steam in the oven rather than roast, leading to a soggy texture.
Common Boiling Mistakes
- Overcooking until the potato falls apart, which makes it impossible to achieve a cohesive, flat shape on your sheet pan.
- Crowding the pot, which leads to uneven cooking times across your batch.
- Skipping the steam-dry phase, which leaves the surface wet and inhibits the Maillard reaction necessary for a deep, golden crust.
- Adding aromatics like dried herbs or garlic too early, as common guidance suggests these can burn quickly when exposed to the high heat required for roasting.
Steam Drying for Maximum Crunch
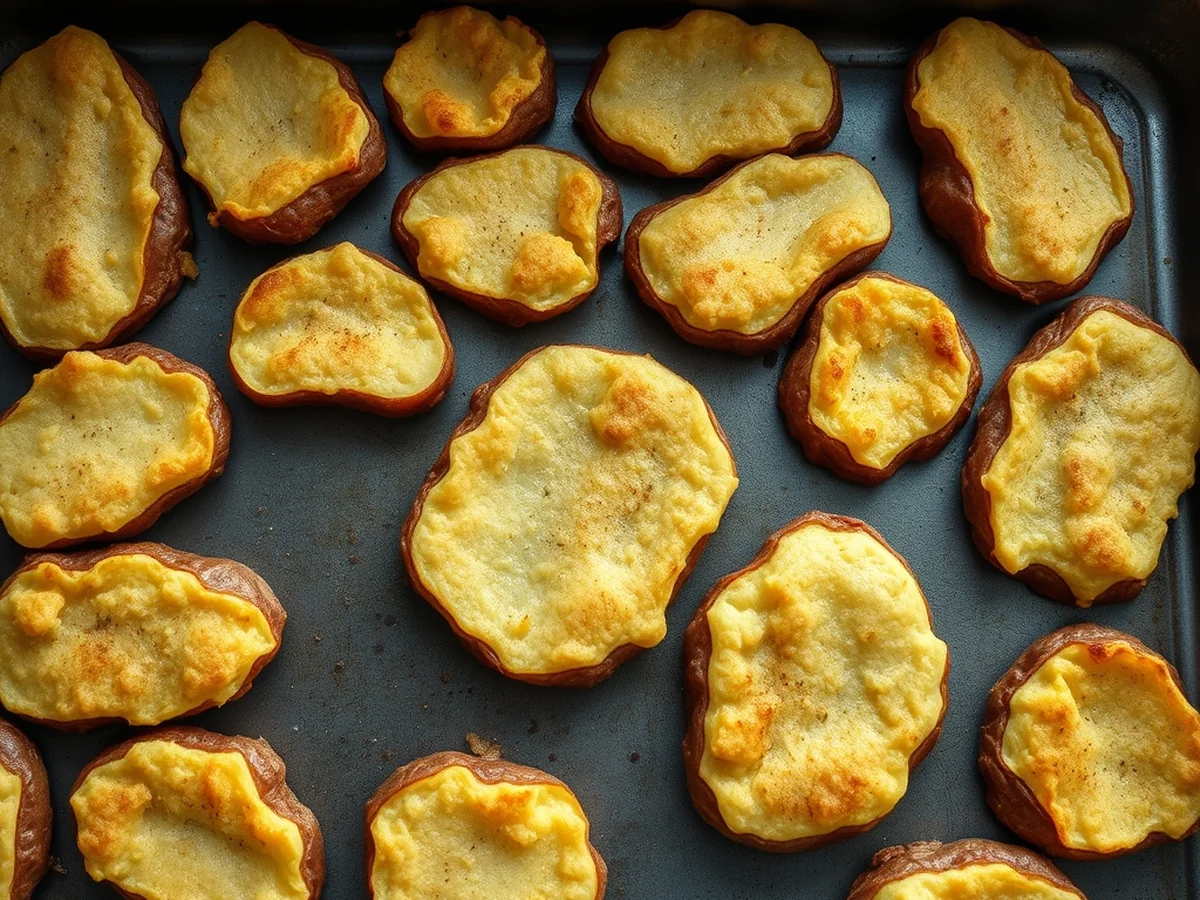
To achieve the most effective crunch, you must allow your potatoes to steam dry for several minutes immediately after smashing them. This brief resting period is a common piece of guidance among experienced home cooks to ensure the surface is completely moisture-free before oil is added.
When you smash a hot, boiled potato, steam is released from the interior. If you apply oil or seasoning while this steam is still actively escaping, the moisture will trap the fat against the surface. This creates a soggy layer rather than allowing the potato to sear properly. By waiting, you let the excess vapor dissipate into the air.
Reducing surface water is critical for initiating the Maillard reaction. This chemical process requires a dry environment to transform natural sugars and amino acids into the golden, savory crust that defines crispy smashed potatoes. When the potato surface is dry, the high heat of the oven can immediately begin browning the potato flesh rather than wasting energy evaporating surface water.
Follow these steps to optimize your results:
- After boiling, drain the potatoes thoroughly and let them sit in the colander for two minutes to allow remaining water to evaporate.
- Place the boiled potatoes on your sheet pan and gently press them with a potato masher or the bottom of a heavy glass.
- Leave the smashed potatoes undisturbed on the hot pan for at least five minutes before brushing them with oil.
- Ensure the pan itself is not cold, as a preheated sheet pan helps start the browning process from the bottom up.
Patience during this stage is one of the most important tips for ultra crispy roasted potatoes. By allowing the steam to escape, you ensure that every ridge and rough edge of the smashed potato becomes golden and rigid. If you find the potatoes are still releasing significant steam after five minutes, simply wait a little longer. Adding oil to a dry surface ensures the fat can penetrate the crevices to fry the starch effectively during the roasting process, leading to a much more satisfying texture in every bite.
Best Fats for Crisping
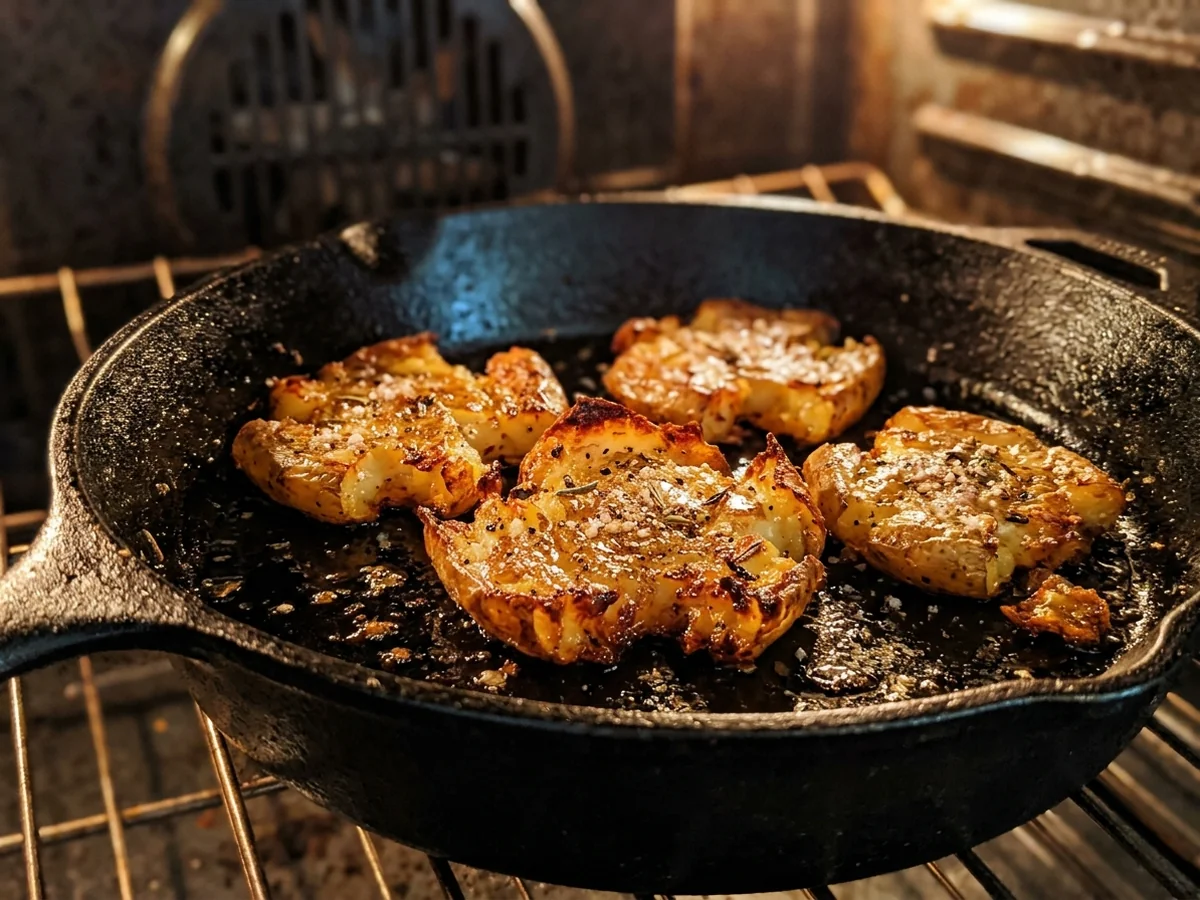
Achieving the perfect texture with crispy smashed potatoes requires selecting a fat that can withstand high oven temperatures without degrading. When roasting, the goal is to facilitate starch gelatinization and encourage the Maillard reaction, which creates that desirable golden crust. High smoke point oils are your best ally here, as they remain stable under heat, allowing the exterior of the potato to harden effectively before the inside becomes too soft.
| Fat Type | Smoke Point | Best Use |
|---|---|---|
| Extra Virgin Olive Oil | Moderate | Flavor and browning |
| Refined Oils (e.g., Avocado) | High | Initial crisping |
| Butter | Low | Finishing for flavor |
Understanding Fat Behavior
While butter is prized for its rich flavor, its milk solids burn quickly at the temperatures required for roasting. A common misconception is that mixing butter with oil raises the smoke point of the blend. In reality, the milk solids in the butter will still scorch, potentially imparting a bitter, burnt taste to your potatoes. For the best results, use a neutral, high-smoke point oil like avocado or refined olive oil for the initial roasting phase. If you crave that signature buttery richness, brush the potatoes with melted butter during the final few minutes of cooking.
The Role of Moisture and Timing
Beyond the fat you choose, moisture management is critical. One of the most effective methods for achieving a deep crunch on your potatoes is to allow them to steam dry for several minutes after you have smashed them on the sheet pan. This step is a common practice among home cooks because it removes residual steam and surface water, ensuring the oil makes direct contact with the potato starch. When the surface is dry, the heat transfers more efficiently, leading to a much crunchier result.
Timing also plays a significant role in preventing common pitfalls. Many home cooks make the mistake of adding aromatics too early. Dried herbs, garlic, and even fresh spices are prone to burning long before the potatoes reach their peak crispiness. To avoid this, keep these ingredients off the roasting surface until the final stages of the process. If you are looking for a cooling contrast to the intensity of the roasted fats, consider serving your finished dish with a bright parsley yogurt sauce, which cuts through the richness and adds a fresh, protein-packed component to your meal.
Common Smashing Mistakes
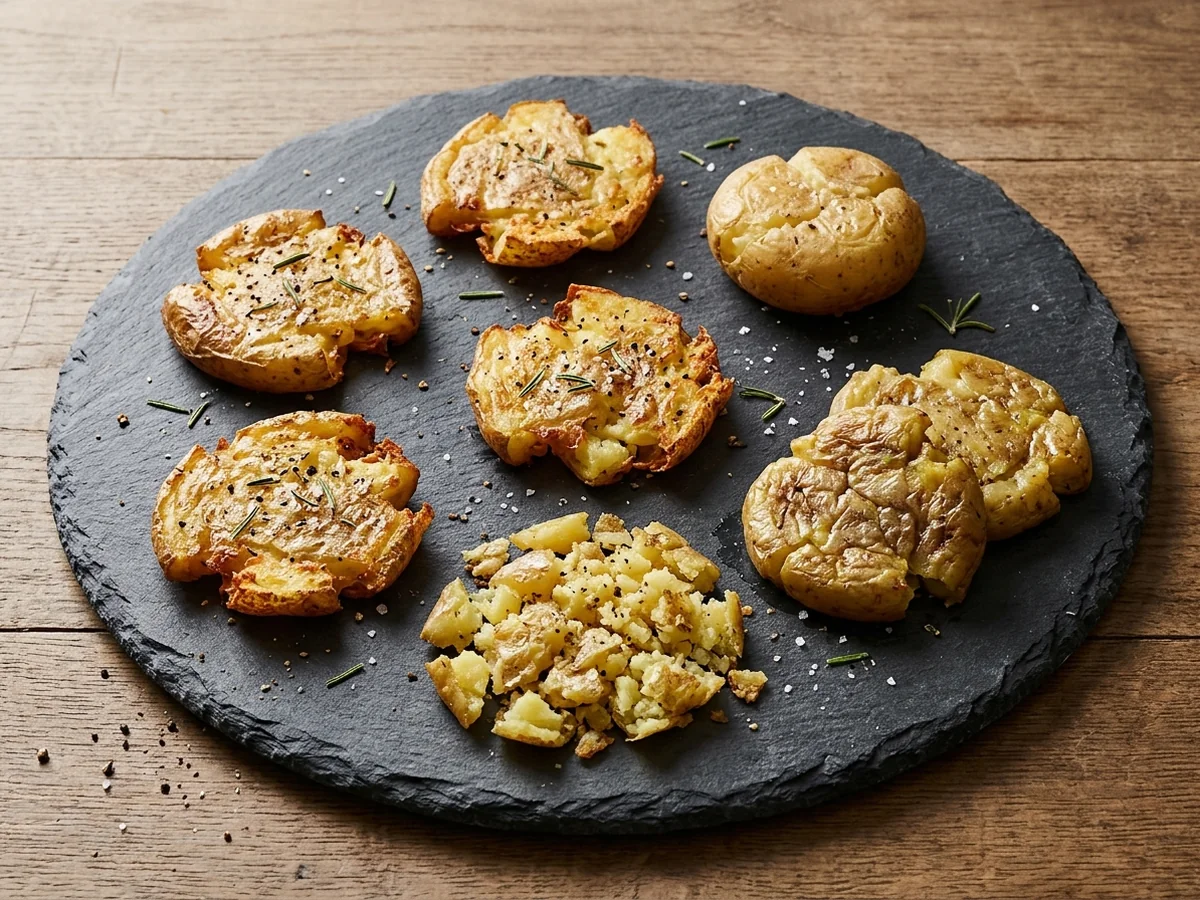
Achieving the perfect texture depends on avoiding a few technical pitfalls that often ruin the final result. Mastering the process requires careful attention to ingredient placement, structural integrity, and heat distribution across the surface.
- Adding dried herbs or garlic directly to the roasting surface early in the cooking process is common guidance for why they frequently burn before the potatoes finish browning.
- Applying excessive pressure with your masher can cause the potatoes to fall apart into tiny pieces, which prevents the desired crispy exterior from forming properly.
- Overcrowding your sheet pan prevents proper air circulation, leading to steamed, soft potatoes rather than the golden brown finish you want.
- Letting potatoes steam dry after the initial boil is a recommended technique to remove excess moisture, which helps ensure optimum crispiness for your crispy smashed potatoes.
- Using an uneven roasting surface or failing to leave space between each potato piece will inevitably result in soggy patches instead of uniform crunch.
When you season your potatoes, wait until the final minutes of roasting to add delicate aromatics like garlic or dried herbs. This strategy keeps their flavor bright and prevents them from turning bitter or acrid under the high heat of the oven. If your potatoes break apart too easily during the smashing phase, you may have boiled them for too long. Aim for a texture that is tender enough to flatten without disintegrating, which keeps the structure intact for the transition to the hot sheet pan.
Proper spacing is equally vital for successful results. If the potatoes are touching, the moisture released during the roasting process gets trapped between them, creating steam that softens the skins. Give each potato its own room on the tray to allow the heat to reach all sides. This simple adjustment ensures that every edge achieves that satisfying crunch while the center remains fluffy and light.
Flavor Pairings and Sauces
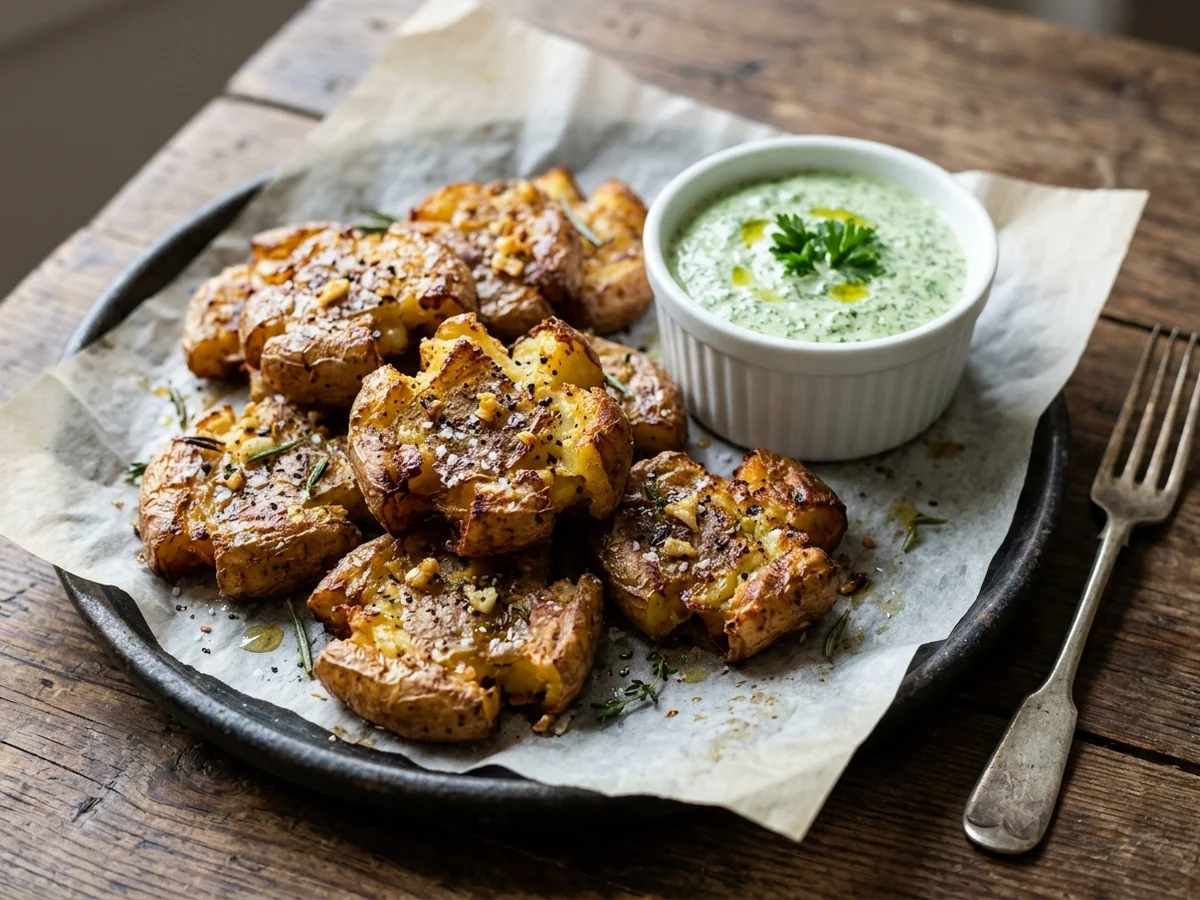
Pairing crispy smashed potatoes with a cool, protein-rich dip creates a necessary contrast to the intense heat and savory depth of the oven-baked starch. A simple parsley yogurt sauce for roasted vegetables serves as a perfect accompaniment, providing a bright, tangy profile that cuts through the richness of the potatoes. The acidity inherent in Greek yogurt balances the buttery, dense interior of the spud, resulting in a cleaner finish on the palate that prevents the dish from feeling overly heavy.
Beyond traditional dipping, seasoning timing is the most frequent point of failure for home cooks. Many recipes suggest adding aromatics during the initial roasting phase, but this often leads to charred, bitter bits of garlic or burnt dried herbs. To ensure your flavors remain vibrant, follow these practical steps:
- Bloom your spices post-roast: Toss delicate dried herbs, citrus zest, or toasted spices with your potatoes immediately after removing the sheet pan from the oven. The residual heat will bloom the aromatics and release their essential oils without exposing them to the intense, direct heat that causes charring.
- Add fresh, cold elements last: Fresh herbs like chives, dill, or parsley should be folded into your sauce or sprinkled over the finished potatoes just before serving to maintain their color and bite.
- Layer your textures: Introduce crunch through toppings like dukkah, toasted sesame seeds, or flaky sea salt. These additions provide a complex, nutty mouthfeel that complements the golden, crispy edges created during the roasting process.
- Incorporate warming heat: Use smoked paprika or chili flakes to provide a background heat that bridges the gap between the cool yogurt dip and the salty, roasted potato surface.
A common mistake is failing to allow the potatoes to steam dry after boiling but before smashing. Removing excess surface moisture is essential for achieving the best crispy smashed potatoes, as any remaining water turns to steam in the oven and prevents the Maillard reaction from occurring efficiently. Once your potatoes are sufficiently dry, aim for an even, thin smash to maximize the surface area that makes contact with your roasting fat. By separating the cooking of the potato from the application of your delicate seasonings, you ensure every bite is perfectly flavored rather than scorched.
FAQ
How do I make crispy smashed potatoes at home?
To achieve the perfect texture, boil your potatoes until tender, smash them gently, and then roast at a high temperature with enough oil to coat the surface. Letting the potatoes steam dry for a few minutes after smashing is common guidance for ensuring they get as crispy as possible.
Should I boil potatoes before smashing for crispiness?
Yes, boiling is a critical step because it initiates starch gelatinization, which allows the interior to become fluffy while the exterior browns effectively. Skipping this step often results in a tough skin rather than the desired crispy smashed potatoes.
What are the best potato varieties for smashed potatoes?
Yukon Gold potatoes are excellent due to their creamy texture, while Red Bliss potatoes hold their shape well after being smashed. Both varieties provide a reliable base for achieving that contrast between a crunchy exterior and a soft, flavorful center.
What are common mistakes when making smashed potatoes?
A frequent error is crowding the sheet pan, which traps steam and prevents the potatoes from becoming truly crispy. It is also common practice to avoid adding dried herbs or garlic directly to the roasting surface, as these often burn and turn bitter before the potatoes are finished.
Why is parsley yogurt sauce a good pairing for these potatoes?
The acidity and cooling nature of the Greek yogurt help balance the richness of the roasted potatoes and the oil used for crisping. Serving this parsley yogurt sauce on the side adds a fresh, herbaceous element that elevates the entire dish.
Can I use butter instead of oil for roasting?
While butter provides excellent flavor, it has a lower smoke point than many oils, which can lead to burning when roasting at the high temperatures needed for crispiness. Using a high-quality oil like extra virgin olive oil is generally preferred for reaching that perfect golden finish.
Conclusion
The final step to perfecting your dish is deciding whether to serve these potatoes immediately or hold them for later meal prep. If you want the best results, serve them while they are fresh out of the oven to ensure the texture remains at its peak. Once you master the technique for making crispy smashed potatoes, you can easily pair them with a fresh parsley yogurt sauce for a balanced, high-protein meal. Grab your sheet pan and potato masher to get started on your next kitchen project.
You might also like: how to meal prep with eggs