Easy Healthy Baked Apple Nachos
Introduction
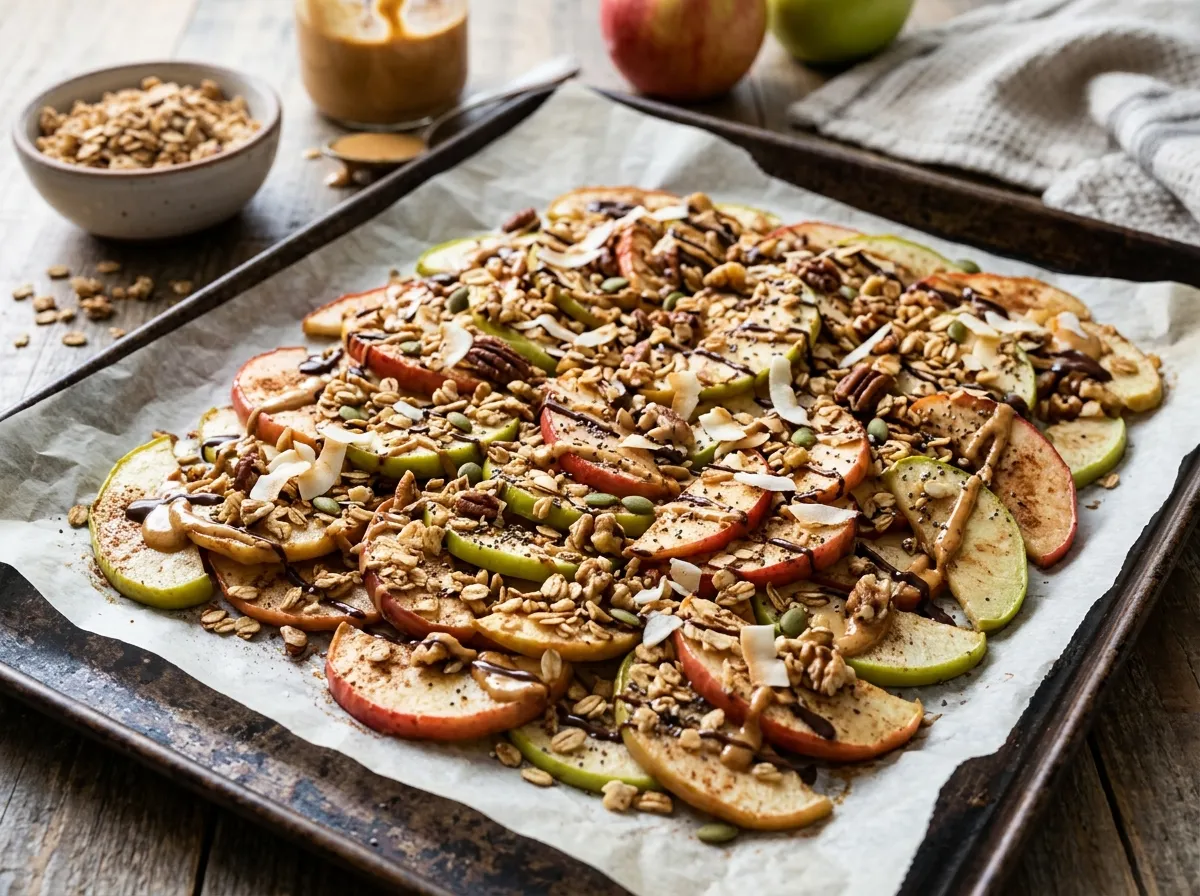
You can prepare healthy baked apple nachos by lightly roasting apple slices to create a warm, tender base for your favorite nutritious toppings. This simple method transforms a classic fruit snack into a satisfying treat that balances natural sweetness with protein and fiber.
This guide covers the best apple varieties for baking, specific temperature settings to achieve the perfect texture, and tips for preventing sogginess. You will also learn how to use acidic juices to keep your fruit fresh, how to incorporate protein-rich nut butters, and the best way to store leftovers for later. Whether you are looking for quick healthy snacks for kids or a warm, nutritious apple dessert, these instructions make the process straightforward and reliable.
What Are Baked Apple Nachos
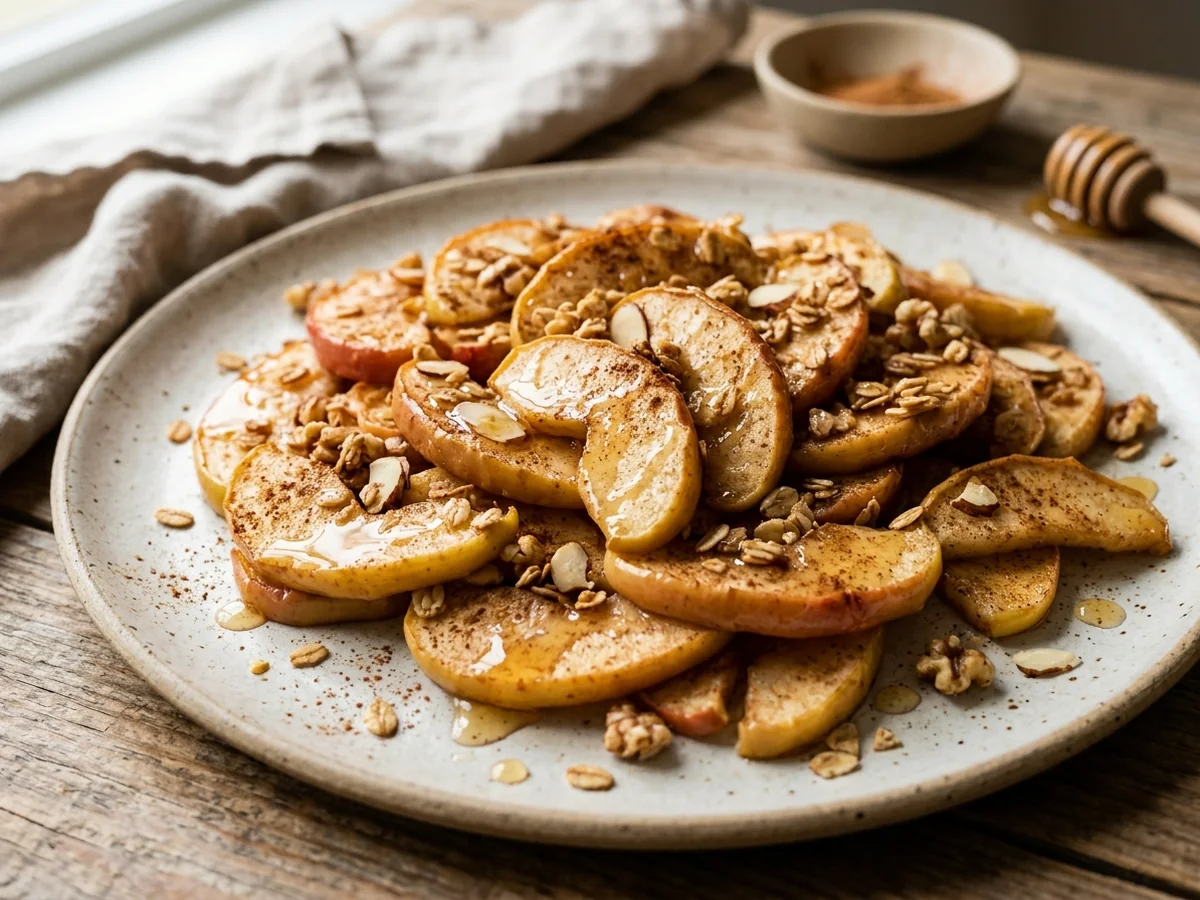
Baked apple slices prepared as nachos offer a nutritious, satisfying alternative to traditional chips and dips. By transforming fresh fruit into a warm, customizable snack, you can satisfy cravings for something sweet without sacrificing your dietary goals.
This dish relies on a simple balance between the natural sugars found in fruit and the protein provided by nutrient-dense additions. Common guidance suggests that incorporating nut butter into your topping selection provides approximately 8 grams of protein per 2 tablespoons, which helps create a more satiating treat that fits well within a balanced eating plan.
The preparation process is remarkably versatile for busy individuals and families alike. According to Nutrition.gov, apple nachos are suitable for kids to make, offering an interactive way to get younger family members involved in the kitchen. Whether you need a quick afternoon pick-me-up or a wholesome dessert, this approach fits seamlessly into a hectic schedule.
Achieving the perfect texture is a matter of basic preparation techniques. When slicing your fruit, common guidance suggests cutting apples into 1/4 to 1/2 inch thickness to ensure they soften evenly in the oven. To maintain the visual appeal of your snack, use lemon or lime juice on the slices, as the University of Illinois Extension notes that this effectively prevents the apples from browning before or during the baking process.
The adaptability of these baked snacks makes them ideal for varied tastes:
- Customize the base with firm, tart, or sweet apple varieties that hold their shape under heat.
- Layer on protein-rich nut butters to boost the nutritional profile.
- Experiment with crunchy or sweet toppings to suit your current cravings.
- Extend the life of your snack by keeping leftovers in a sealed container inside the refrigerator for 3 to 4 days, as is standard practice for maintaining food quality.
By focusing on fresh ingredients and simple preparation, this method provides a practical way to enjoy a wholesome, warm snack that hits your protein targets without the heavy ingredients found in standard desserts.
Why Bake Your Apples
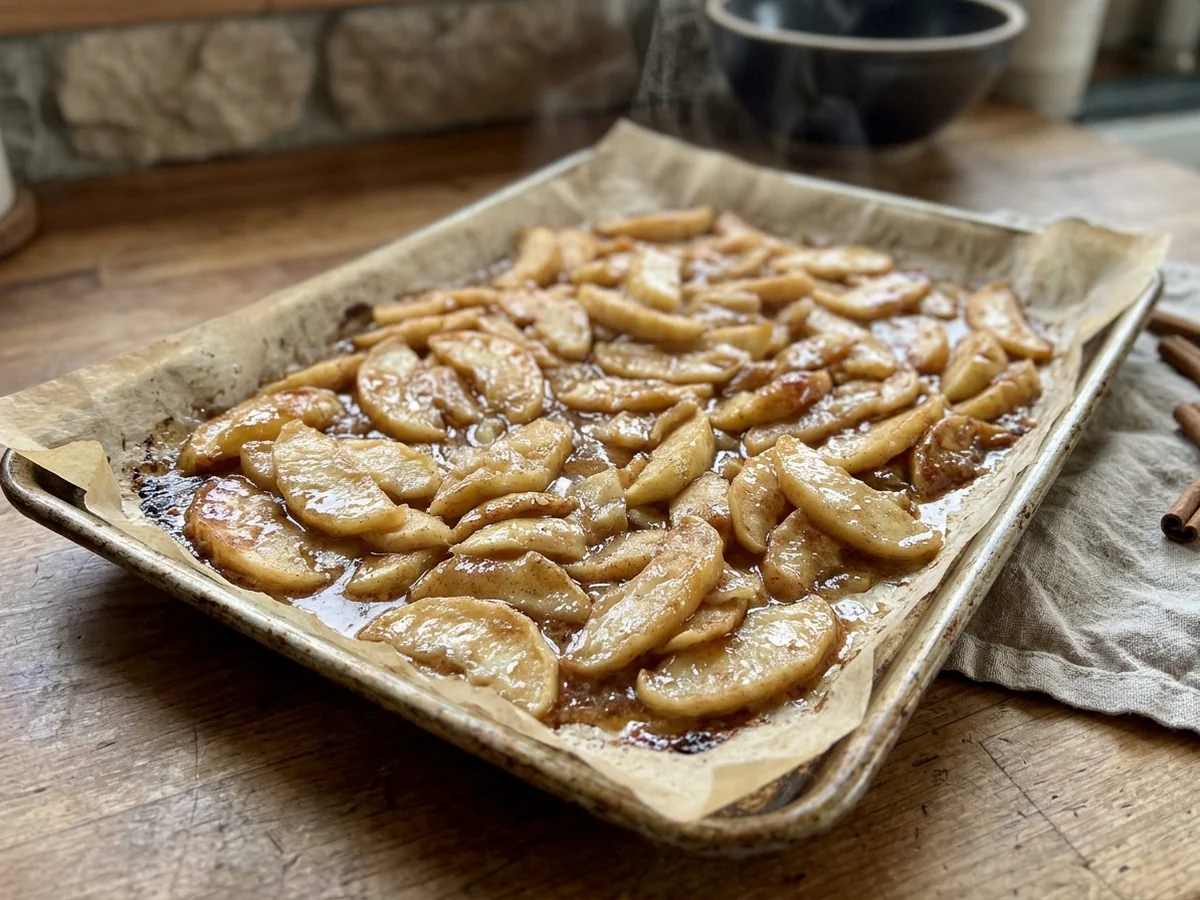
Baking your apple slices transforms them from a crisp, raw fruit into a warm and tender treat that mimics the comforting texture of a baked dessert. This process softens the cellular structure of the fruit, making it easier to digest compared to the firm, fibrous nature of raw apples. If you find raw fruit difficult on your stomach, the gentle heat of the oven provides a much more comfortable alternative without sacrificing the nutritional benefits of the snack.
Applying heat also significantly changes the flavor profile by caramelizing the natural sugars present in the fruit. Varieties like Honeycrisp apples excel in this environment, as the heat intensifies their sweetness and creates a deeper, more robust flavor. While raw slices offer a sharp, refreshing crunch, the baked version develops a mellow, jammy quality that pairs perfectly with warm toppings like nut butter or cinnamon.
Using a baked apple slices recipe also allows you to control the final consistency of your snack. You can achieve a texture that is soft enough to fold or eat easily without the snap of a raw apple. When you prepare them this way, the fruit becomes a warm base that holds onto toppings more effectively than cold, slick raw slices. Consider these benefits of the cooking process:
- Increased digestibility for sensitive stomachs due to softened fibers.
- Enhanced natural sweetness as sugars concentrate during the baking process.
- A comforting, warm texture that elevates a simple piece of fruit into a satisfying dessert-like experience.
- Better integration of spices like cinnamon or nutmeg, which penetrate the surface of the warmed fruit more effectively.
To keep your fruit looking fresh throughout the preparation, a quick splash of lemon or lime juice is a simple trick to prevent browning before they hit the oven. This ensures your final product looks as good as it tastes. Once you have tested this method, you will likely find that the slight extra time in the oven is well worth the improvement in both texture and flavor depth.
Selecting The Best Apples
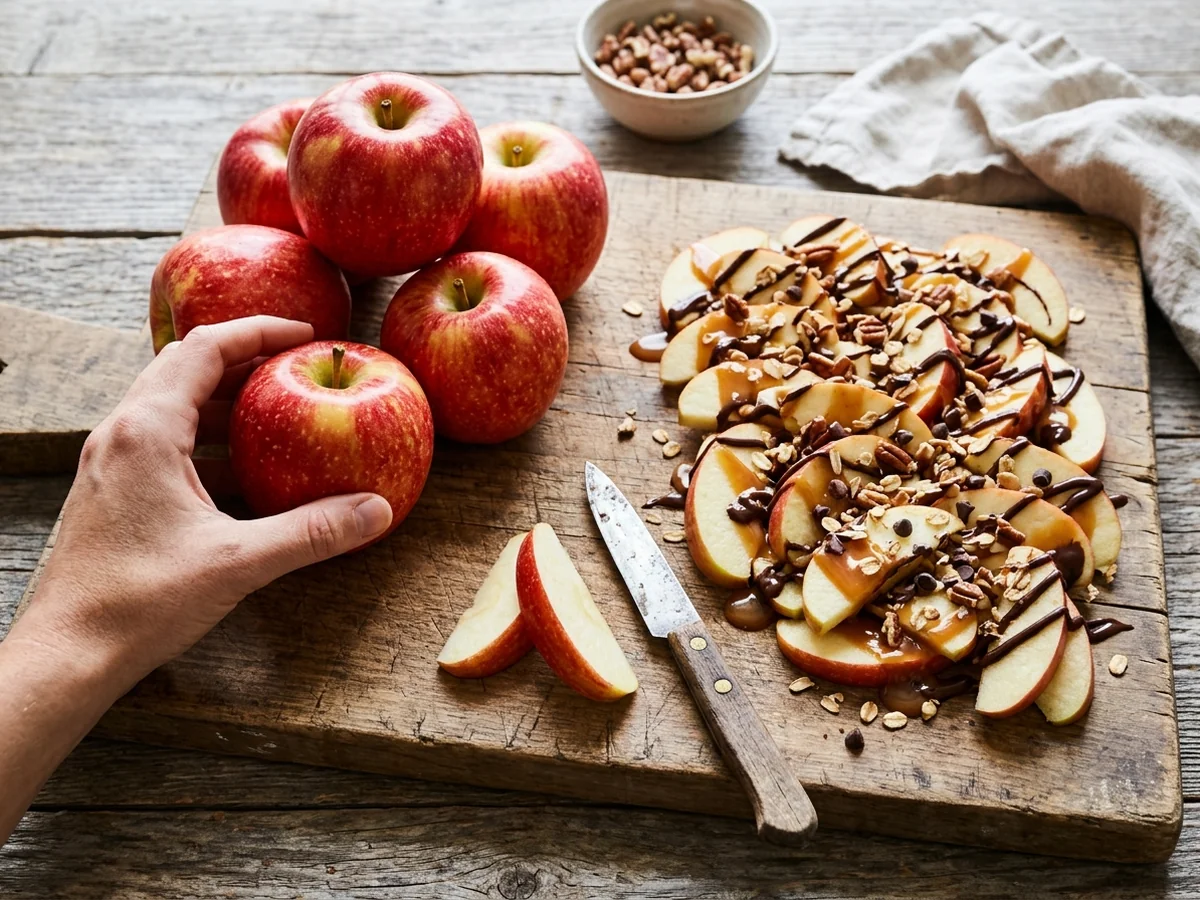
Choosing the right fruit is the foundation of any baked apple slices recipe. To ensure your healthy baked apple nachos maintain their structural integrity in the oven, prioritize firm, crisp varieties. Honeycrisp apples are an ideal choice because they hold their shape well under heat, preventing the finished snack from becoming mushy or losing its satisfying bite.
Achieving Uniformity in Preparation
Consistency in your prep work is essential for even cooking. When your slices vary significantly in thickness, thinner pieces may burn on the baking sheet before thicker sections have softened. Aim for a thickness between 1/4 and 1/2 inch, which is common guidance for this type of preparation. Using a sharp knife or a mandoline allows you to achieve precise, uniform cuts that help every slice cook at the same rate. Before slicing, ensure you remove the core entirely to make each nacho easy to handle and eat.
Managing Freshness and Browning
If you are not moving your apples directly from the cutting board to the oven, they will naturally begin to oxidize. According to the University of Illinois Extension, lemon or lime juice can be used to prevent apple slices from browning. A light coating of citrus juice not only keeps your fruit looking fresh but also adds a subtle acidity that balances the sweetness of your chosen toppings. This step is particularly helpful when preparing larger batches for meal prep.
A Kid-Friendly Snack Approach
Because apple nachos are suitable for kids to make, as noted by Nutrition.gov, this preparation process is an excellent opportunity to involve family members in the kitchen. When prepping for younger cooks, emphasize safety by using a kid-safe crinkle cutter or a blunt knife for the slicing process. Once your apples are sliced and ready, they serve as a nutritious base for various apple nacho topping ideas. You can enhance the protein content of your snack by adding nut butter, which typically provides approximately 8 grams of protein per 2 tablespoons. This combination of fiber-rich fruit and protein makes for a balanced, quick healthy snack for kids that satisfies hunger while providing lasting energy.
Properly prepared apples create a stable foundation for your favorite additions, from almond butter and cinnamon to oat granola and dark chocolate chips. By focusing on firm varieties and consistent slicing, you ensure that your snack remains delicious even after baking.
Preparing Your Apple Base
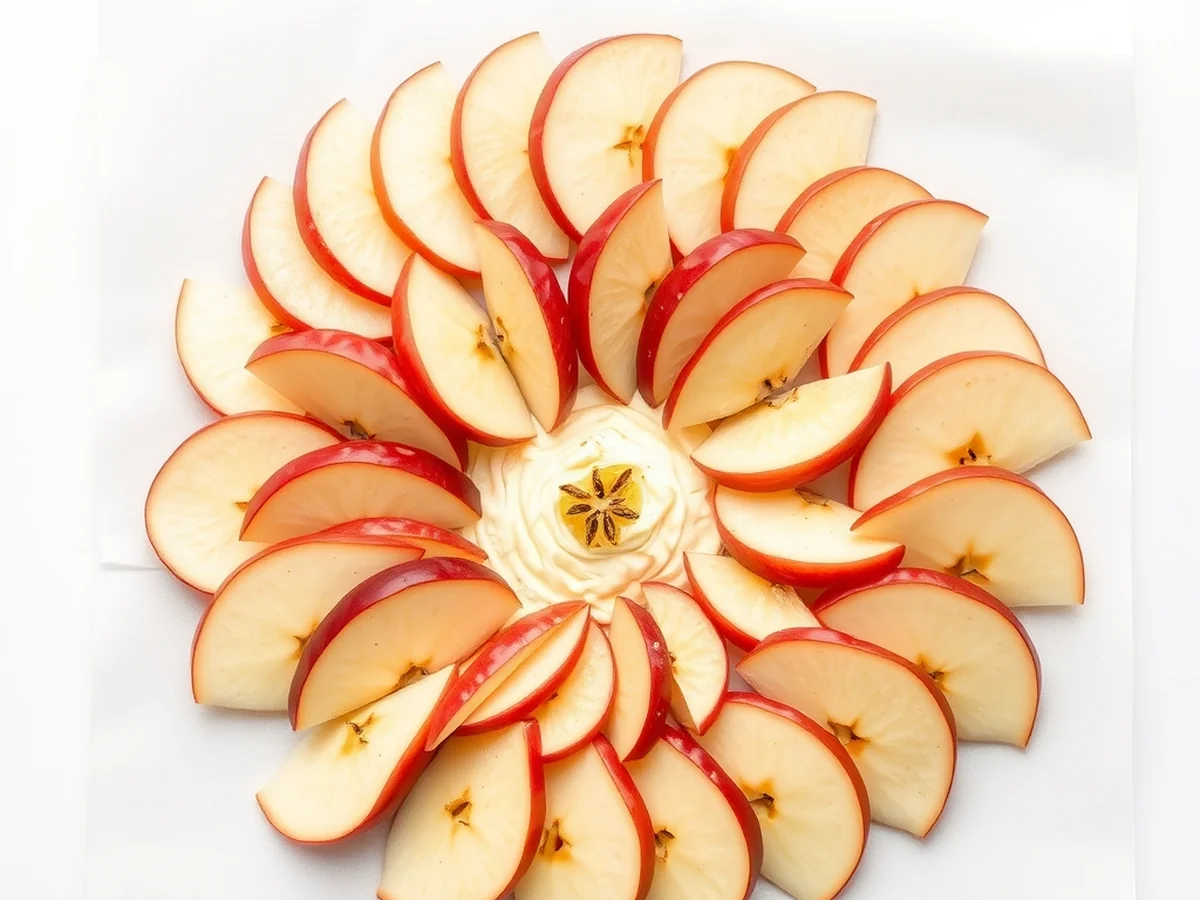
Creating a consistent base is the secret to successful healthy baked apple nachos. When you prepare your fruit properly, you ensure that every piece softens evenly in the oven while maintaining enough structure to hold your favorite protein-packed toppings. Because Nutrition.gov recognizes apple nachos as a suitable activity for kids, keeping the preparation steps simple allows the whole family to participate in building these quick healthy snacks for kids.
Follow these steps to prepare your apples for the best results:
- Select and Wash: Choose firm varieties like Honeycrisp apples, which hold their shape well under heat. Wash them thoroughly under cool running water to remove any surface residue.
- Core and Slice: Use a paring knife or coring tool to remove the center. Slice the apples into uniform wedges. It is common practice to aim for a thickness of one quarter to one half inch, as this range allows the slices to soften without turning into mush.
- Prevent Browning: To keep your base looking fresh, drizzle the slices with a small amount of lemon or lime juice. The University of Illinois Extension confirms that this acidic coating is an effective way to prevent oxidation and browning while the apples wait for the oven.
- Arrange for Baking: Line your baking sheet with parchment paper to prevent sticking and simplify cleanup. Arrange the slices in a single, even layer. Overlapping the fruit can lead to uneven steaming rather than roasting, which may result in soggy textures.
A common mistake is slicing the apples too thin or too thick. If they are too thin, they may burn before the edges caramelize, while overly thick slices will remain raw in the center. By maintaining uniform thickness, you ensure each bite of your nutritious apple dessert reaches the perfect level of tenderness. Once your base is prepped and lightly coated, you are ready to introduce heat to transform these simple ingredients into a warm, satisfying treat.
If you are planning ahead, note that these apple slices generally maintain their quality for 3 to 4 days when kept in an airtight container within the refrigerator. This makes them a practical choice for those looking to incorporate easy healthy snack ideas into their weekly meal prep routine.
Nutritious Topping Strategies

Transforming simple fruit into a balanced, high-protein snack requires a strategic approach to toppings. By selecting ingredients that align with USDA MyPlate guidelines, you can ensure your snack provides a blend of fiber, healthy fats, and protein. These components work together to provide sustained energy, making your baked apple slices recipe more than just a sweet treat. Whether you are prepping for a busy week or looking for quick healthy snacks for kids, the right additions turn a basic fruit base into a satisfying, nutritionally dense experience.
Selecting and Preparing Your Apple Base
Success starts with the quality of your fruit. Varieties like Honeycrisp are popular for baking because they hold their structure well under heat. For the best results, it is common to slice your apples into a thickness of 1/4 to 1/2 inch. This ensures they soften evenly without turning into mush. To keep your fruit looking fresh and avoid unappealing browning, a quick toss in lemon or lime juice before baking is an effective technique. This simple acidic treatment protects the aesthetic quality of your snack even after it has been sitting out.
Customizing Your Apple Nacho Topping Ideas
The beauty of this dish lies in its versatility. Once your apple base is ready, you can customize your toppings to hit your specific macros. Here are a few ways to elevate your snack:
- Nut butter: Drizzling almond butter or another nut butter is a common practice to increase satiety, as it typically provides around 8 grams of protein per 2 tablespoons.
- Whole grains: A layer of oat granola adds a necessary crunch and helps you meet whole grain intake goals.
- Flavor boosters: A dash of cinnamon provides warmth and depth without requiring added sugar.
- Indulgent touches: A light dusting of dark chocolate chips creates a nutritious apple dessert that satisfies cravings while maintaining a balance of macronutrients.
Storage and Accessibility
These snacks are excellent for meal prep because they remain stable when stored properly. You can maintain freshness by keeping your prepared nachos in a covered container inside your refrigerator, where they will typically stay in good condition for 3 to 4 days. Because this process is straightforward and does not require complex equipment, apple nachos are suitable for kids to make as a hands-on activity. This level of accessibility makes it easier to keep your kitchen stocked with options that support your nutrition goals without sacrificing flavor. By focusing on consistent, high-quality ingredients, you can enjoy this snack at any time of day while staying on track with your broader dietary objectives.
Baking For Perfect Texture
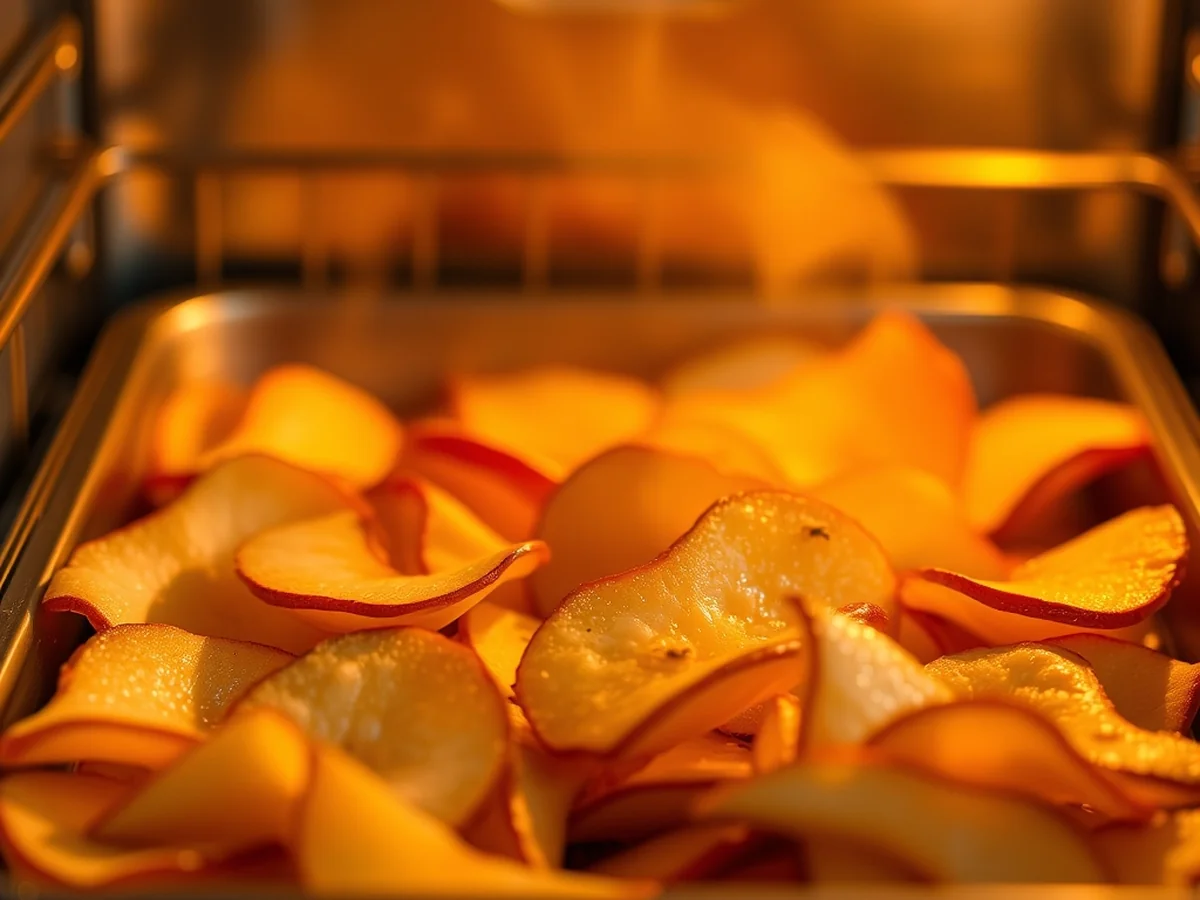
To achieve the best results with these oven-warmed fruit treats, aim for a gentle temperature between 350 and 375 degrees Fahrenheit for approximately 10 to 15 minutes. This moderate heat softens the fruit while maintaining enough structural integrity to hold your favorite toppings without becoming overly fragile or mushy.
Monitoring the oven closely is key to success. Because fruit contains high water content, the difference between a tender slice and a soft, limp one can happen in just a few minutes. Check the tray frequently once you hit the 10-minute mark to ensure you catch them at the ideal level of doneness for your preference.
You can identify when the fruit is ready by observing a few specific visual cues. Look for these signs to ensure your snack is finished perfectly:
- The edges of the slices should appear slightly softened and curled rather than raw and rigid.
- The surface of the fruit will lose its bright, crisp sheen and take on a slightly matte appearance.
- The internal flesh should be tender enough to pierce easily with a fork while still retaining a slight bite.
If you prefer a softer, more dessert-like texture, simply leave the tray in for an additional two or three minutes. Keep in mind that the slices will continue to soften slightly as they cool on the baking sheet once removed from the heat. If you plan to add toppings like nut butter, which typically provides about 8 grams of protein per 2 tablespoons, wait until the fruit has cooled for a few minutes to prevent the toppings from melting away too quickly. If you want to keep the appearance fresh, remember that a light coating of lemon or lime juice applied before baking can prevent the slices from browning during the process.
Storage And Meal Prep
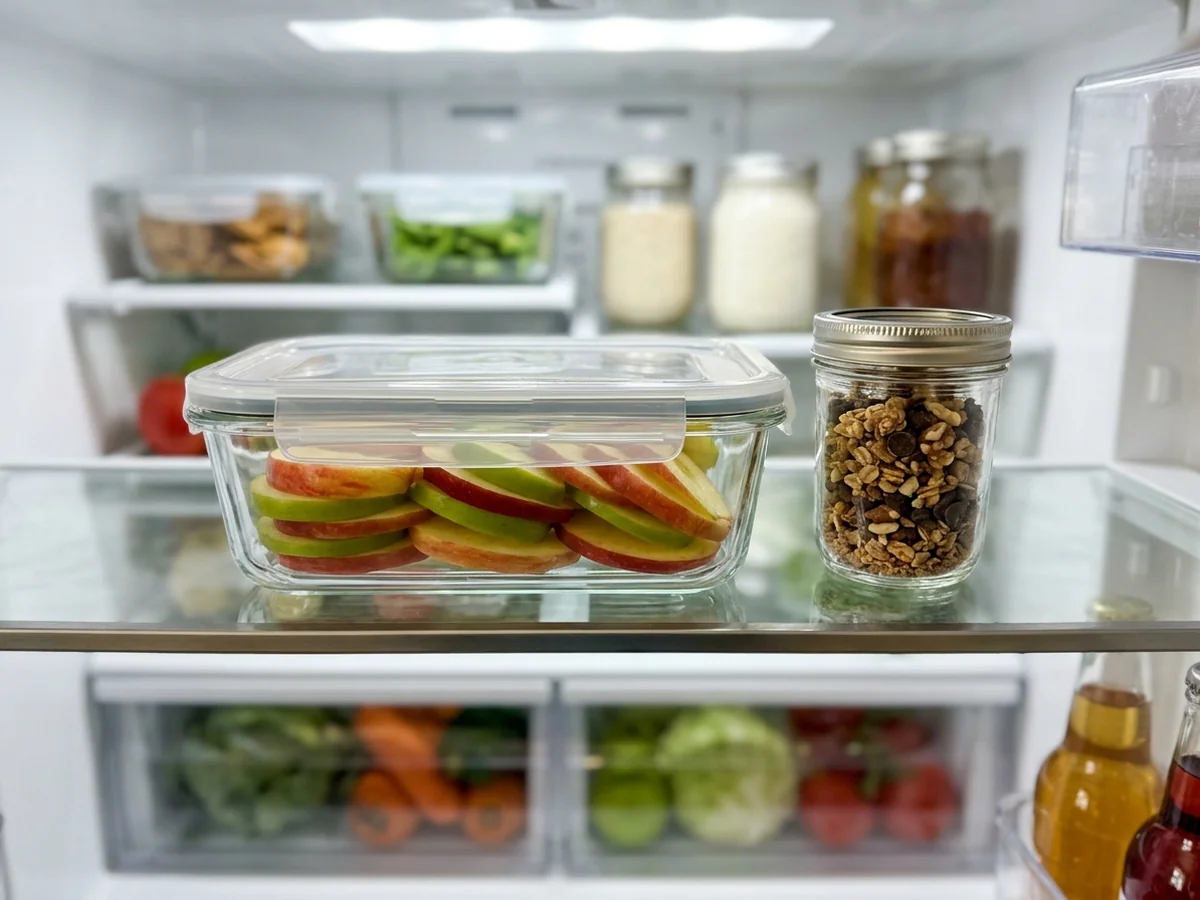
Proper storage is essential for maintaining the quality of your healthy baked apple nachos throughout the week. It is common practice to keep prepared apple slices in a covered container inside the refrigerator for 3 to 4 days. While the apples remain safe to consume during this window, their texture is best preserved when you manage moisture carefully.
Maintaining Texture and Crunch
The secret to high-quality meal prep lies in keeping your components separate. If you apply nut butters, granola, or chocolate chips before storing, the moisture from the fruit will soften these toppings, resulting in a soggy snack. To keep your ingredients fresh, store the baked apple slices in one container and keep your nut butter, oats, and chocolate chips in individual small jars or reusable bags. This approach ensures your toppings maintain their satisfying crunch and the nut butter keeps its ideal consistency until you are ready to assemble your snack.
Preventing Oxidation
To keep your apple slices looking fresh, apply a small amount of lemon or lime juice to the fruit after slicing or before baking. According to the University of Illinois Extension, lemon or lime juice effectively prevents apple slices from browning, keeping them vibrant even after time in the refrigerator. This simple step is particularly useful if you are preparing snacks ahead of time for a busy work week or for young family members who enjoy simple fruit-based bites.
Why Meal Prep Matters
Incorporating this apple-based treat into your weekly routine is a practical way to meet your wellness goals. When you dedicate time to wash, core, and slice your apples into uniform pieces, typically 1/4 to 1/2 inch in thickness, you eliminate the friction that often leads to choosing less wholesome snacks. Because these apple nachos are suitable for kids to make, involving family members in the process can turn snack prep into a collaborative activity.
Whether you are looking for easy healthy snack ideas or a post-workout treat, keeping these portions ready allows you to boost your intake of essential nutrients easily. For example, adding two tablespoons of almond butter typically provides around 8 grams of protein, turning a simple fruit dish into a more substantial, satisfying option. By keeping your pre-portioned apples ready to go, you create a reliable staple that saves time and supports consistent nutrition, whether you enjoy them chilled or warmed slightly in the oven or microwave.
Healthy Toppings For Kids
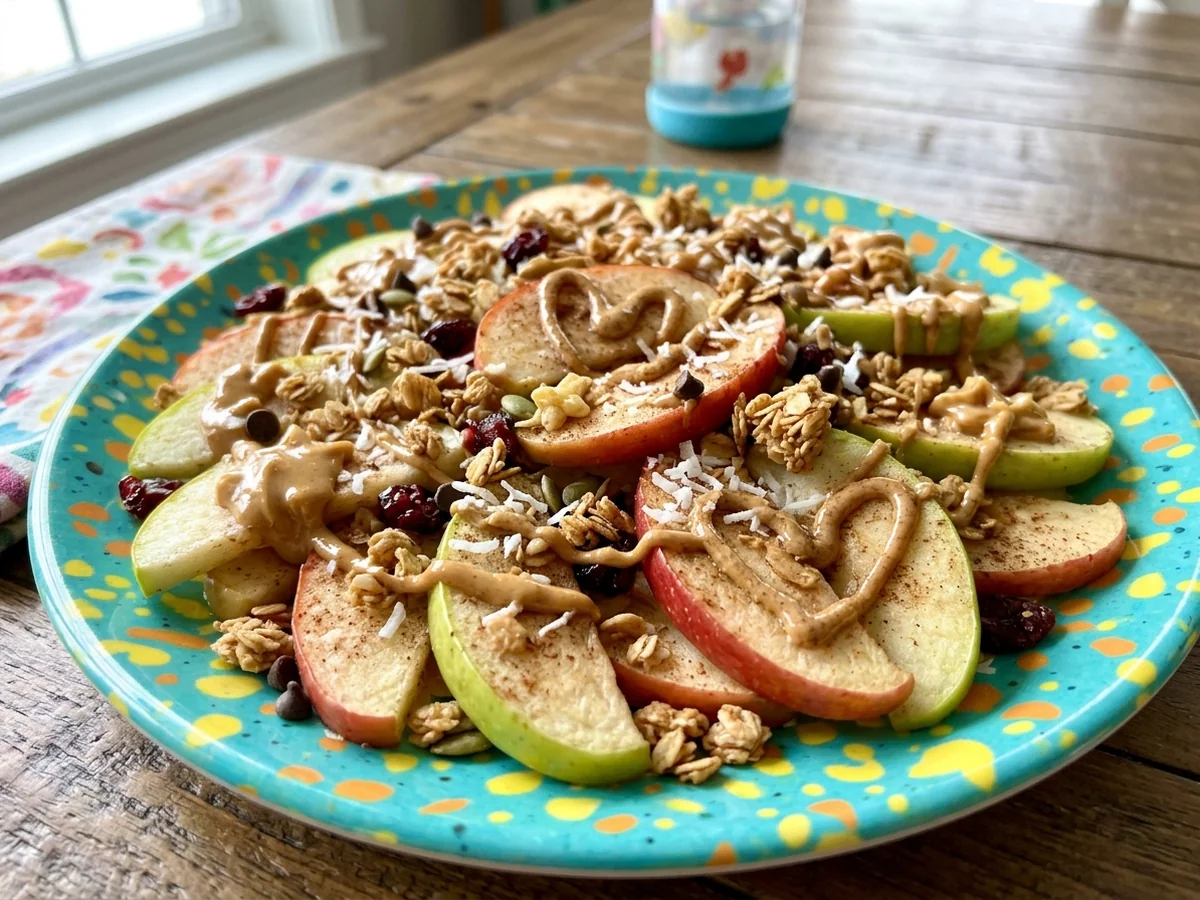
You can involve your children in the kitchen when preparing these fruit-based snacks, as Nutrition.gov confirms that apple nachos are suitable for kids to make. Encouraging little ones to assemble their own plates fosters independence and helps them build a positive relationship with nutritious food choices.
When you want to prepare simple and wholesome snacks that children will enjoy, look for ingredients that offer both flavor and staying power. Nut butter is a fantastic addition, as it typically provides around 8 grams of protein per 2 tablespoons. This helps keep energy levels steady between meals.
To ensure a safe and fun experience for younger helpers, prioritize age-appropriate tasks. While an adult should handle the actual slicing, kids can take charge of the assembly process. Let them arrange the fruit slices on the baking sheet and sprinkle on their own combinations of toppings. This simple involvement makes them feel like active participants in the meal preparation process.
- Use measuring spoons to portion out nut butter for a fun, hands-on activity.
- Let children choose between various toppings like granola or seeds to customize their snacks.
- Teach younger helpers that lemon or lime juice can be used to prevent apple slices from browning, as this is a simple science lesson they can perform themselves.
- Guide them on how to sprinkle cinnamon evenly to build fine motor skills while adding flavor.
Focusing on these simple steps helps children learn the basics of food preparation without the pressure of complex recipes. When kids have a hand in creating their own snack, they are often much more excited to eat it. This approach simplifies your kitchen time while providing a nutritious option that balances protein and fiber, making it a win for both parents and children.
FAQ
Are healthy baked apple nachos considered a nutritious choice?
Yes, this dish provides a balanced way to enjoy fruit by pairing fiber-rich apples with nutrient-dense toppings like nut butter. You can easily boost the protein content, as common guidance suggests that 2 tablespoons of nut butter typically provide about 8 grams of protein.
How do you prevent apple slices from browning during preparation?
You can prevent your apple slices from turning brown by applying a small amount of lemon or lime juice to the fruit. According to the University of Illinois Extension, this acidic treatment effectively slows down the oxidation process that causes discoloration.
What is the recommended thickness for slicing apples for nachos?
For the best texture when preparing apples for this dish, it is common practice to cut your fruit into slices between 1/4 and 1/2 inch thick. This thickness ensures the fruit softens properly in the oven without losing its shape entirely.
Are these apple nachos suitable for kids to make?
Apple nachos are a great activity for children to participate in during kitchen time. According to Nutrition.gov, this recipe is suitable for kids to make, offering them a fun way to engage with fresh ingredients and assemble their own healthy snack.
How long can you store prepared apple nachos?
If you have leftovers, place them in an airtight container and keep them in the fridge for 3 to 4 days. While these snacks are best enjoyed fresh, this method keeps the ingredients organized until you are ready for your next portion.
Conclusion
Deciding to prepare this dish comes down to your preference for a warm, comforting treat that still feels light. You can easily adjust the toppings to suit your nutritional goals, such as adding extra nut butter for a protein boost, as it typically provides around 8 grams of protein per 2 tablespoons. Once you have mastered your favorite combination of healthy baked apple nachos, consider experimenting with different apple varieties to see which texture you prefer after baking. Simply grab your baking sheet and start your first batch today.
Sources: extension.illinois.edu, nutrition.gov
You might also like: how to meal prep with eggs